


In the ever-expanding universe of nail and beauty, the choices seem endless—from ombré gel polish to classic pink and white acrylics. With the nail industry constantly evolving, mastering the basics becomes an essential.
With the surge in popularity of nail art, acrylic enhancements, and natural nail care, builder gel emerges as a revolutionary product, empowering nail technicians to strengthen natural nails, nurture growth, and maintain flawless aesthetics for extended periods.
In response to common inquiries surrounding builder gels, we’ve compiled essential answers. If you’re curious about the advantages of gel manicures or pondering the choice between builder gel and acrylic for your clientele, we’ve got you covered.
Defining Builder Gel:
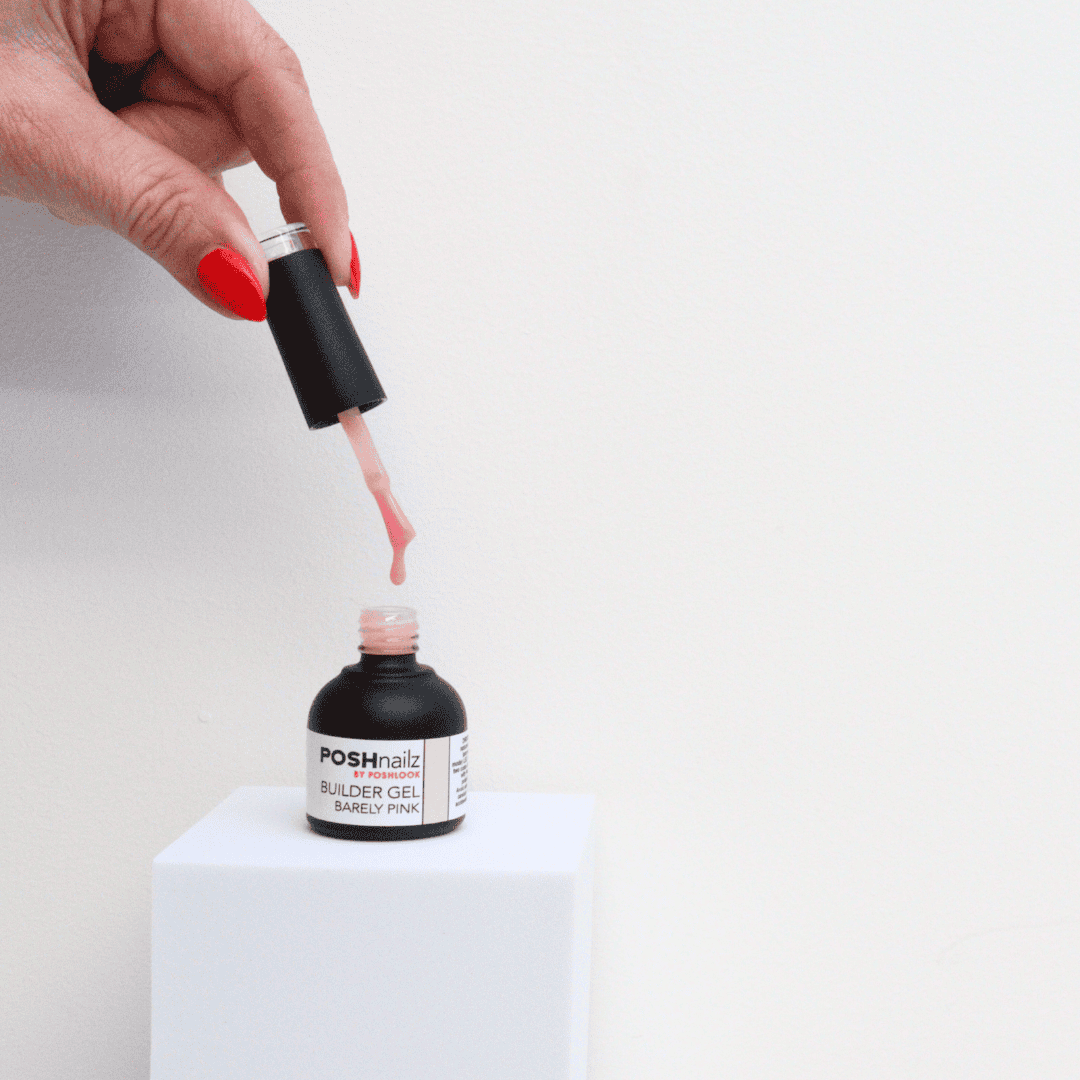
Builder gel serves as a versatile tool for adding length, thickness, or strength to nails. Whether applied as a resilient overlay on natural nails or used for extensions with nail tips, builder gel stands out with its superior strength and thicker consistency, ensuring a seamless foundation layer.
Differentiating Gel from Builder Gel:
While both gel polish and builder gel contribute to nail care, they diverge in application, purpose, and removal. Gel polish, prized for its ease of use, offers colour and gloss in a thin layer, while builder gel demands skill and experience for application and removal, due to its denser texture.
The Lifespan of Builder Gel:
Typically lasting two to three weeks, a builder gel manicure’s durability varies based on the brand and application technique. Not only this but also the lifestyle of the client. If they are constantly using their hands and not treating their nails as jewels then the builder gel will be put to the test. Sticking to proper removal practices and maintaining a strong, healthy nail base are crucial for prolonged wear.
Effective Application of Builder Gel:
Builder gel application methods vary by brand, with some requiring a primer or base coat and others enabling direct application. Whether applied to natural nails or extensions, precise layering and curing under suitable LED or UV lamps ensure optimal results.
Step by step guide for a Builder Gel Natural Overlay using PoshLook products:
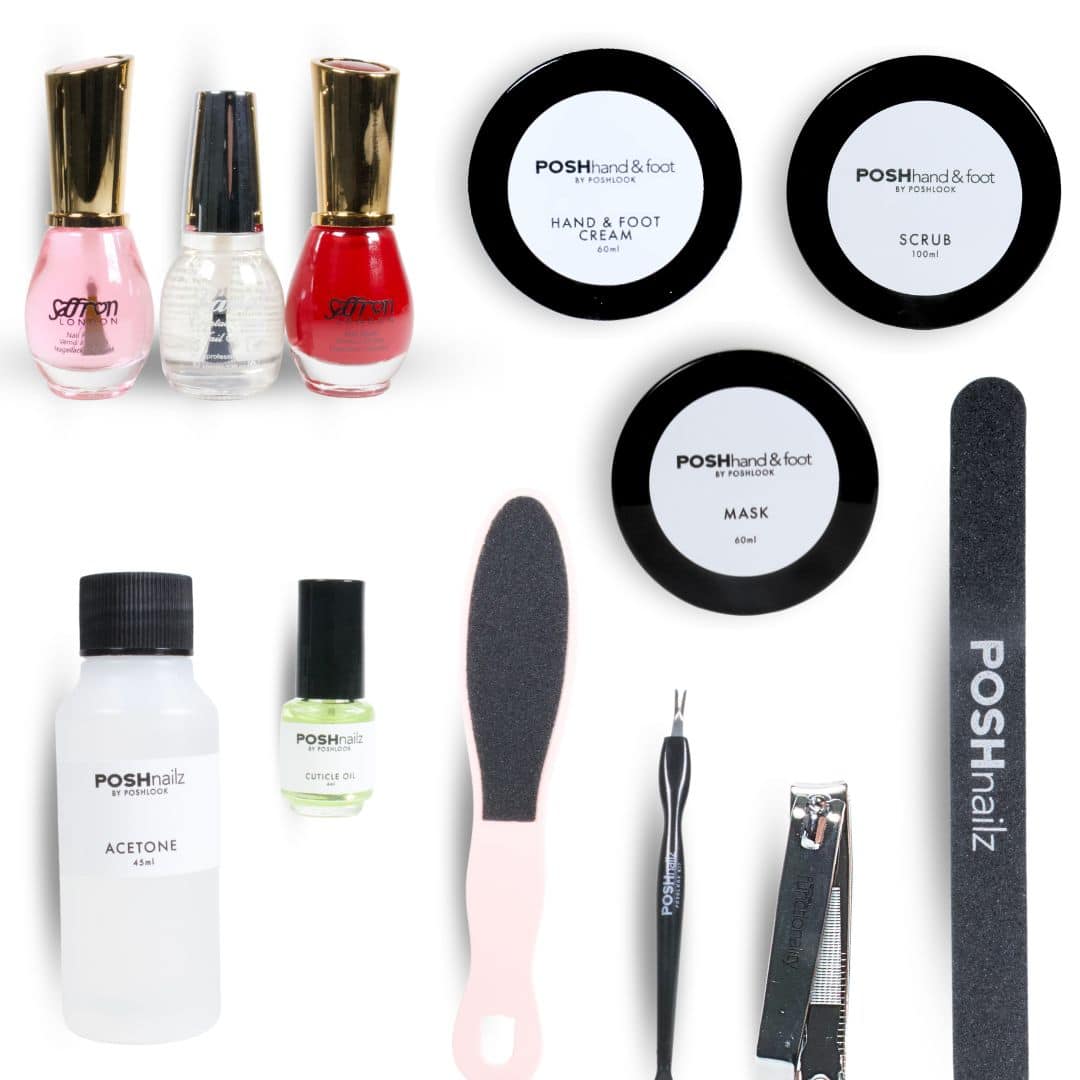
STEP 1 – PREP
• With POSH Spray Clean sanitise your own and your customer’s hands.
• Use a cuticle pusher to push back the cuticles and trim away excess with nippers.
• File nails into shape using POSH 150/150 grit File.
• Buff nails using POSH 180/180 grit Buffer to remove any shine.
• Remove any excess dust with POSH dusting brush.
• Dehydrate and cleanse the nail plate using POSH Cleanse.
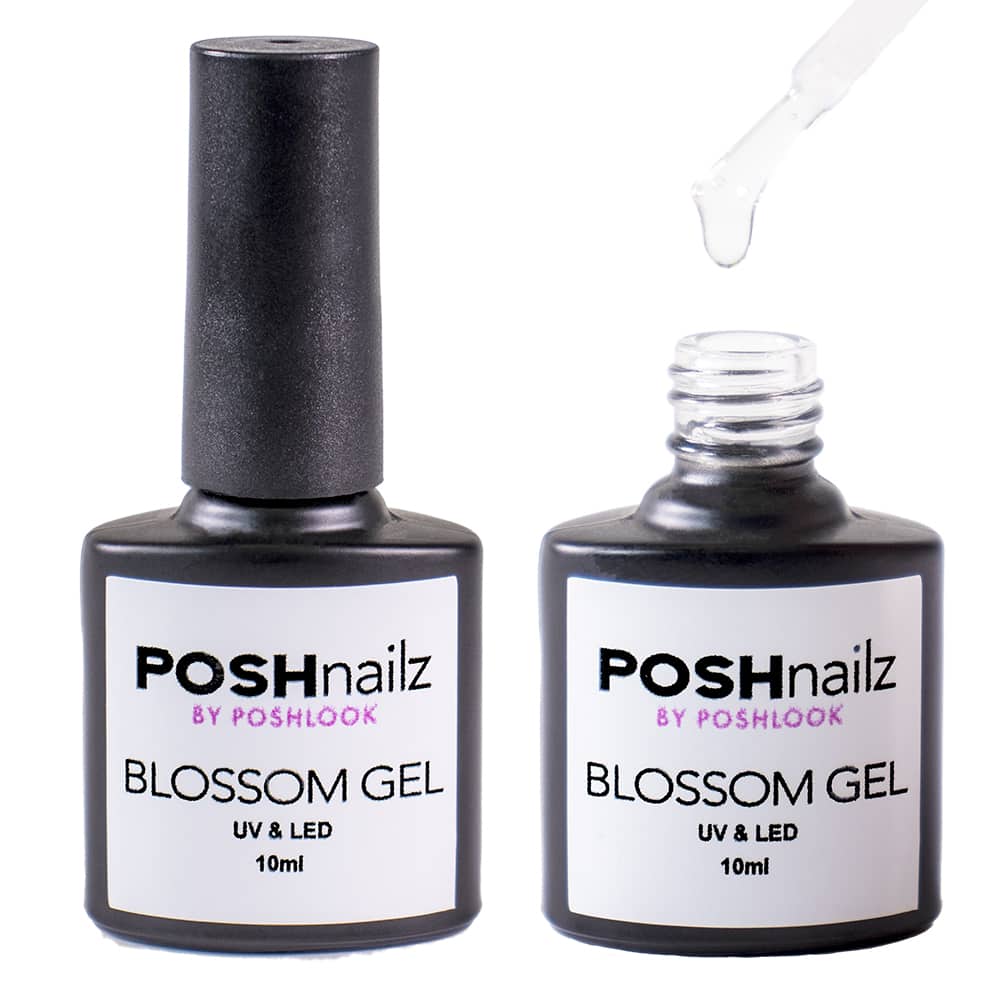
STEP 2 – BASE COAT
• Apply a thin layer of POSH Base Coat to all five fingers.
• Make sure to cap the free edges.
• Cure in a POSH LED Lamp for 60 seconds.
• Remove excess tacky residue with POSH Wipe Off.
STEP 3 – BUILDER GEL
• Apply a medium bead of POSH Builder Gel on the natural nail and spread side to side covering the nail plate.
• Make sure to seal the free edges.
• Build and cure one nail at a time to avoid the gel to go into the cuticle area.
• Cure in a POSH LED Lamp for 60 seconds.
STEP 4 – GEL POLISH
• Once the set is completely built, remove sticky layer with a lint free wipe and POSH Wipe Off, file with POSH 150/150 grit file to the perfect shape.
• You can now apply any POSH gel colour if requested or a top coat for a natural look.
• Cure in a POSH LED Lamp for 60 seconds.
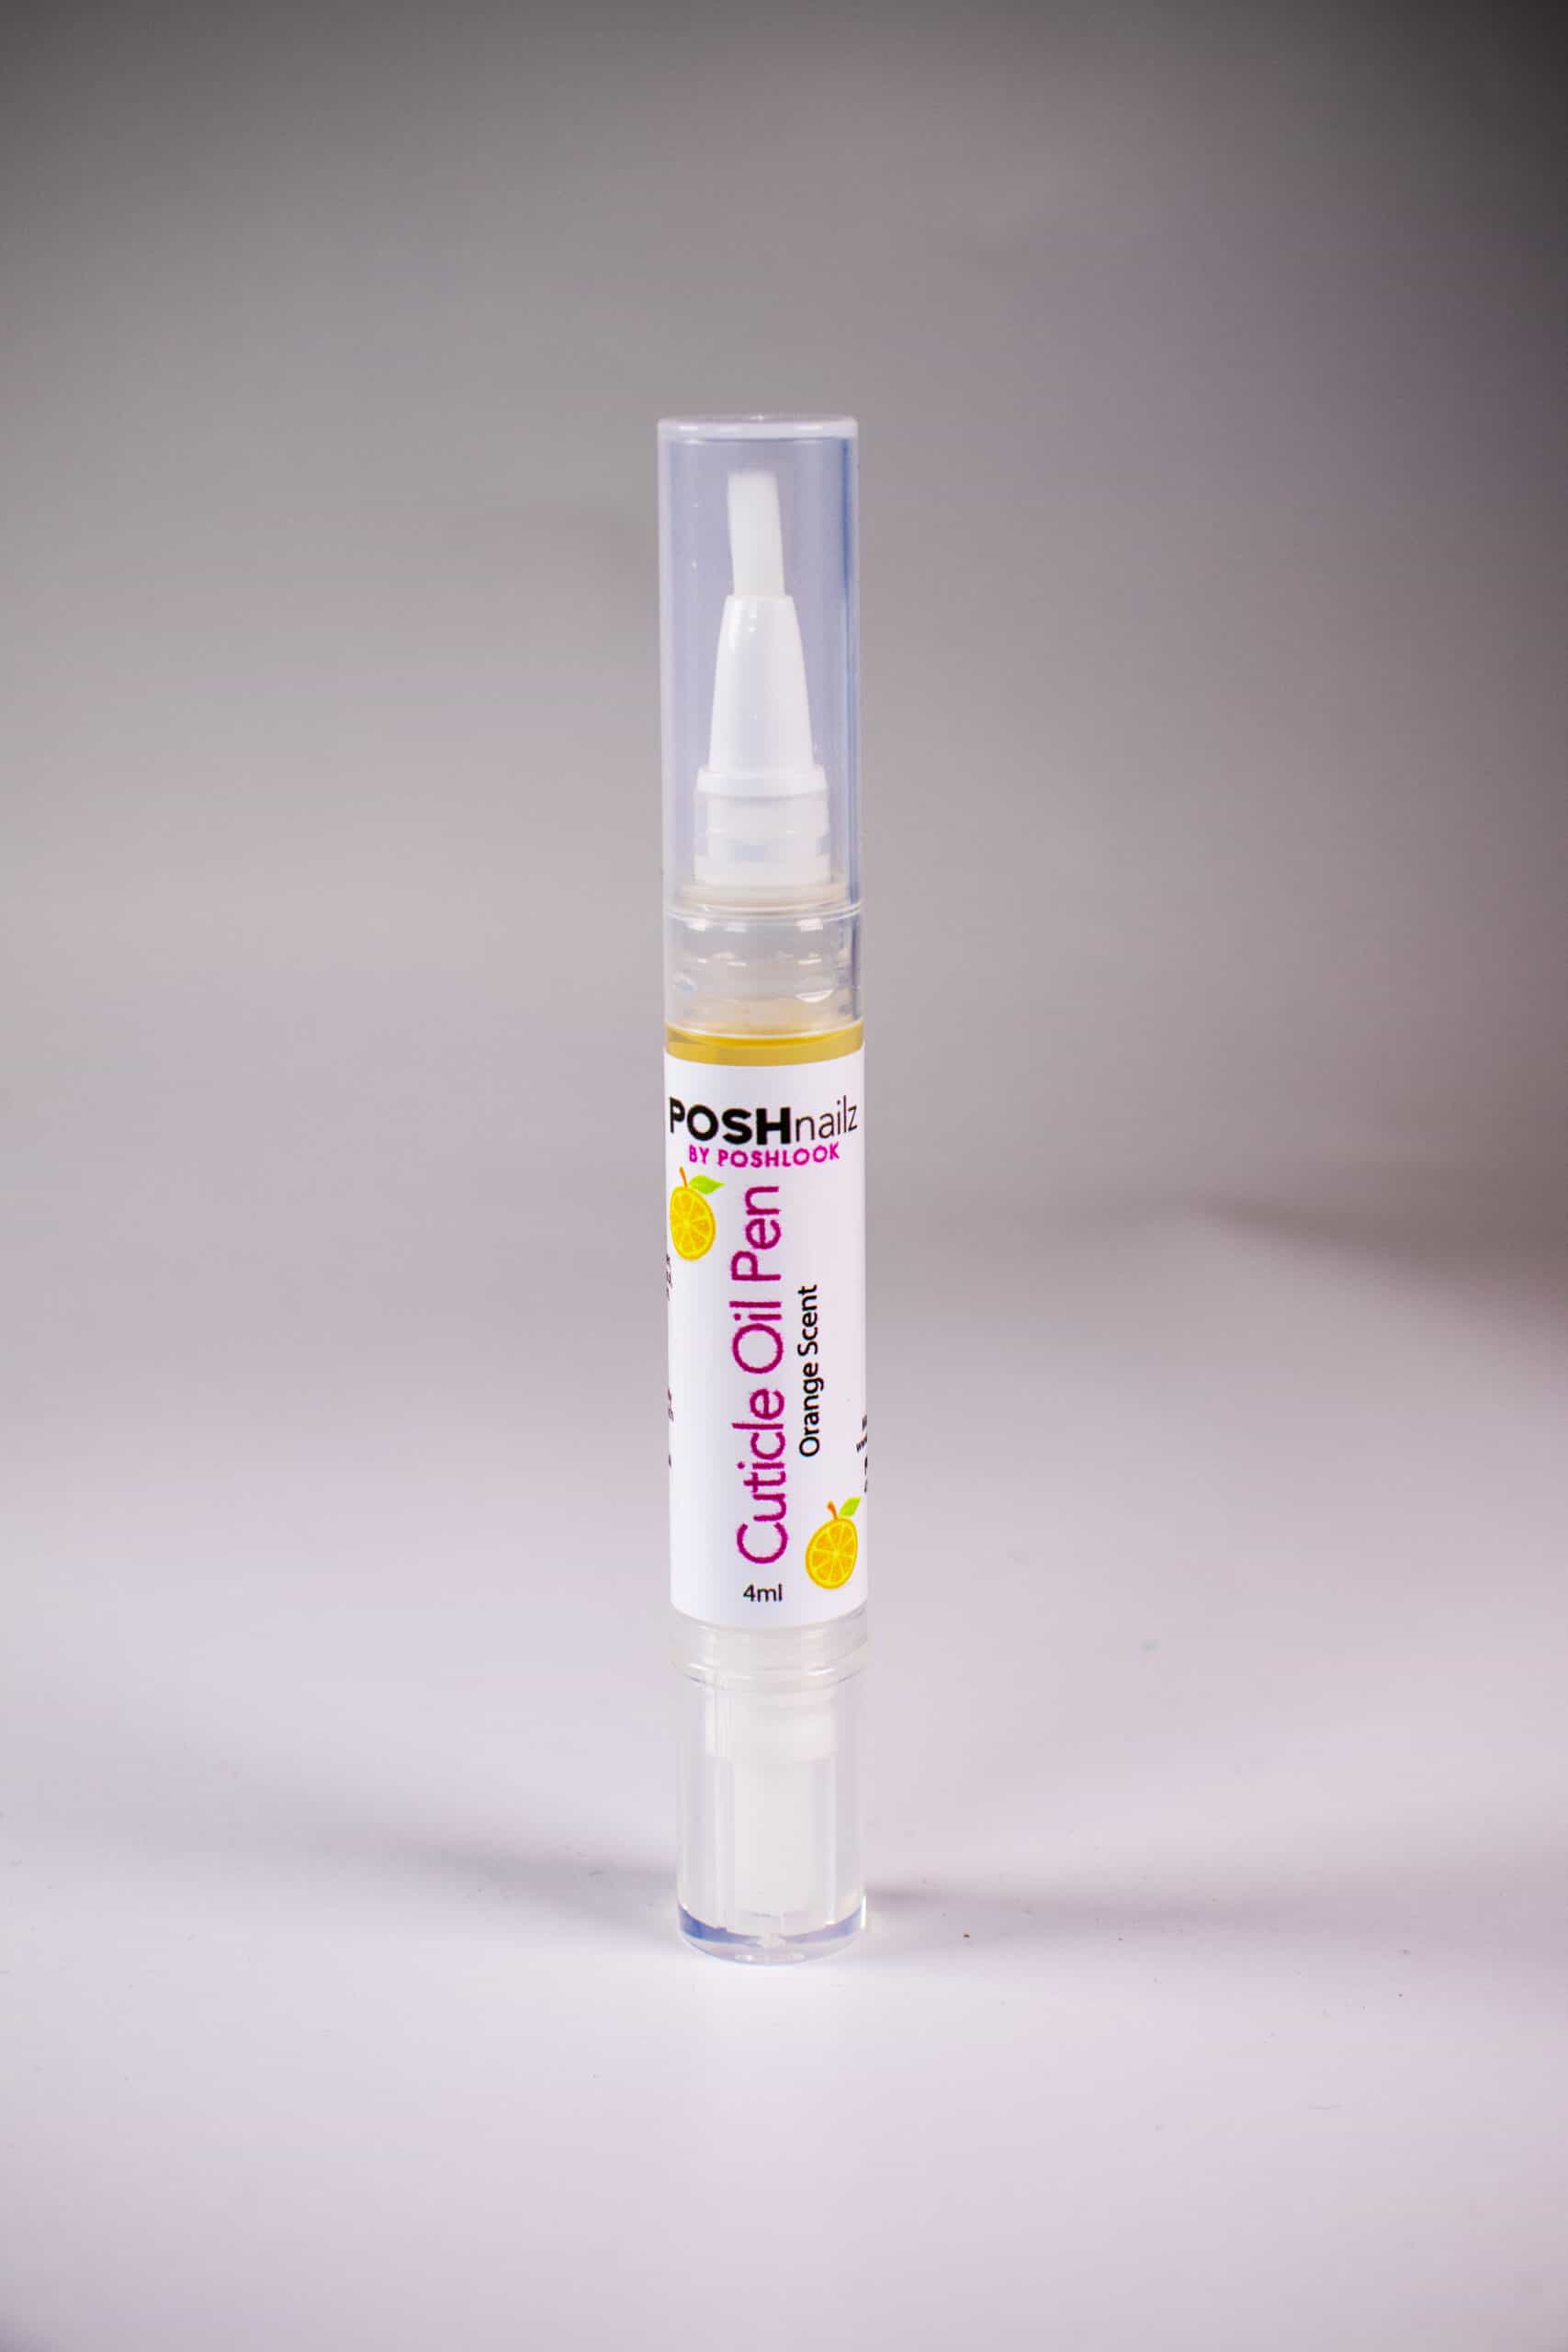
• Condition the cuticle with a drop of POSH Cuticle Oil.
Builder Gel vs. Acrylic: The Verdict:
The preference between builder gel and acrylic depends upon individual needs and preferences. Builder gel, though less rigid than acrylic, offers enhanced flexibility and strength, ideal for natural-looking nails with a swift, high-shine finish. Conversely, acrylic may appeal to clients desiring extra-long nails or seeking utmost protection for fragile nails. Proper application and removal by a skilled technician ensure the safety of both gel and acrylic enhancements.
Navigating Gel Varieties:
For novices, understanding the distinctions among hard gel, soft gel, and builder gel can be bewildering.
Hard Gel: Ideal for nail extensions, hard gels possess greater lengthening capabilities than soft gels but require UV or LED curing and typically necessitate filing for removal.
Soft Gel: Renowned for their durability and easy removal, soft gels offer a middle ground between hard gels and traditional gel polishes, suitable for a natural aesthetic.
Embrace the realm of builder gels, where innovation meets elegance, and elevate your nail game to new heights.