[vc_row][vc_column][vc_column_text]
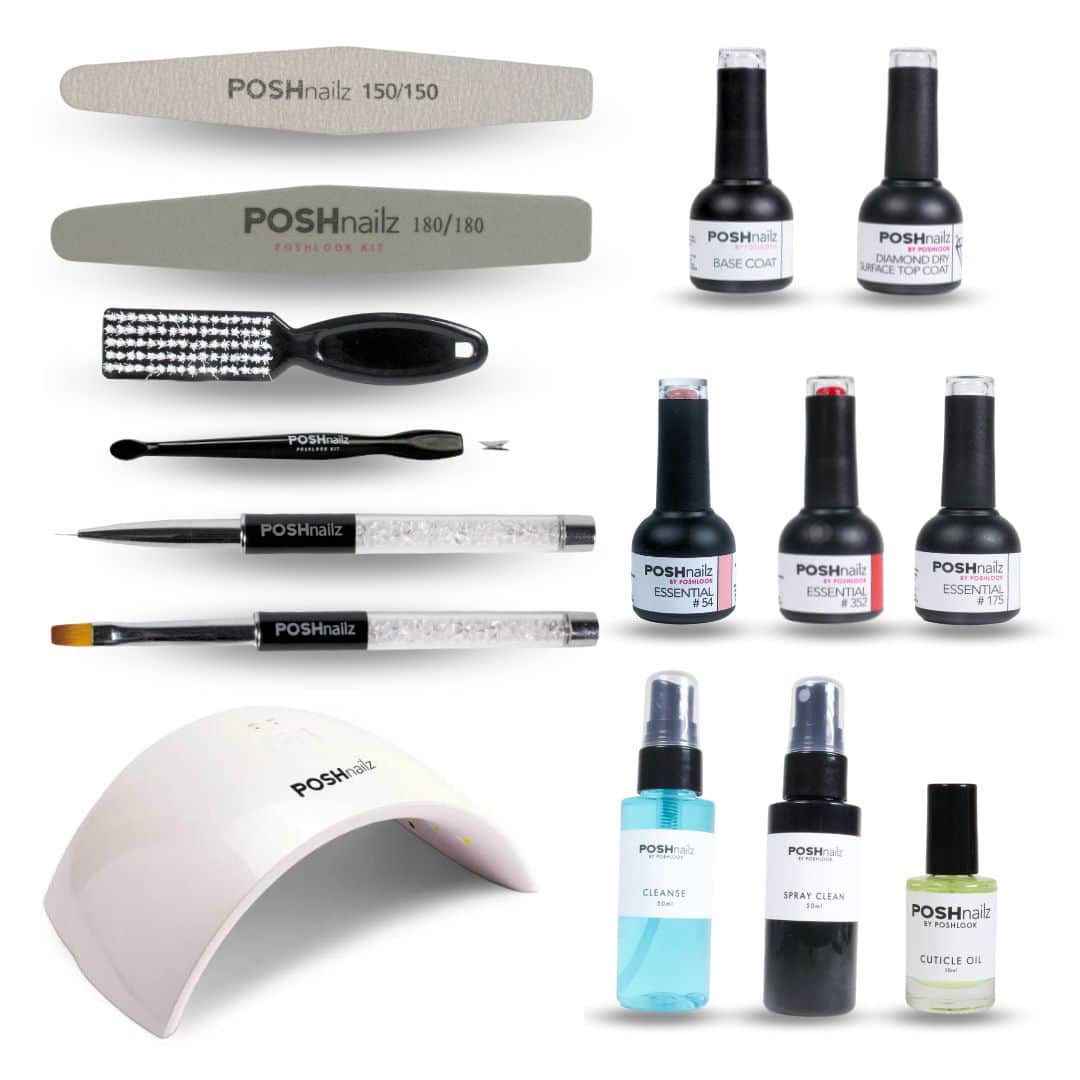
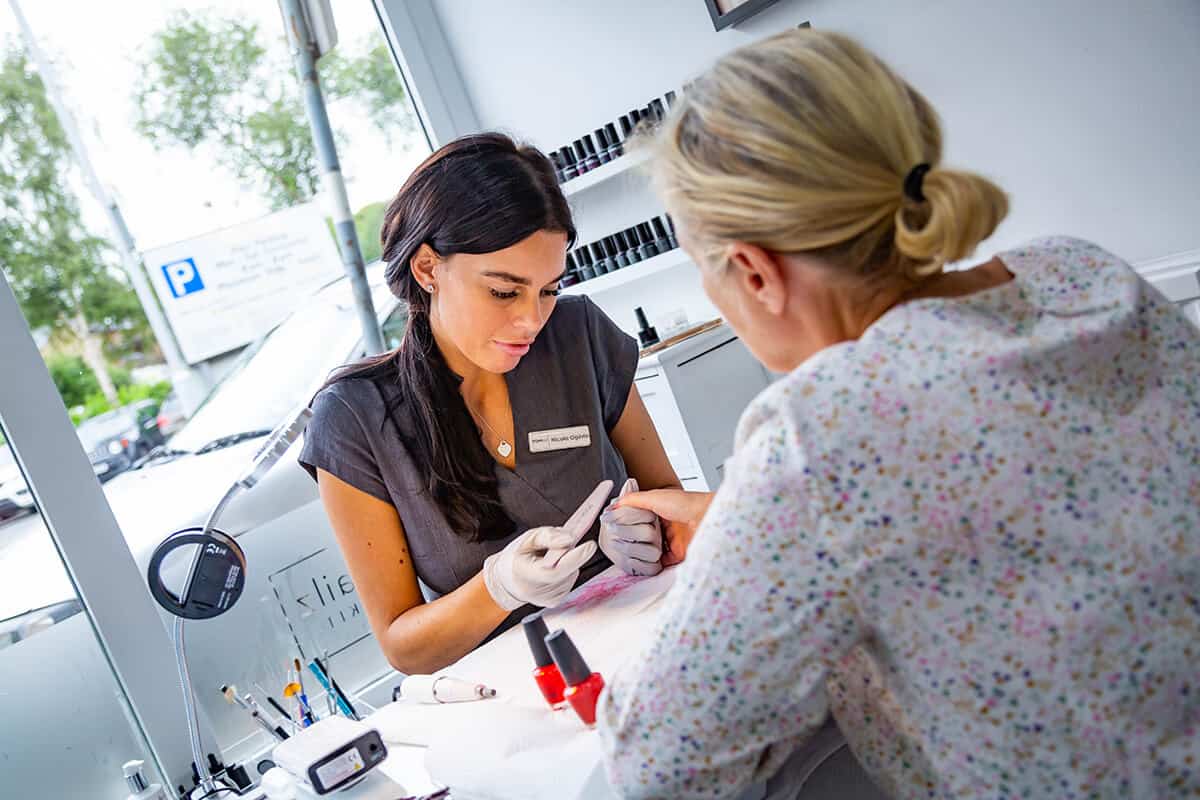
From working hours to location, when you want to start a nail tech business, there are lots of factors you need to consider. One of the essential steps to success is building a professional kit so you can give high-quality treatments to your clients. Because what’s a nail tech without their equipment?
If you want to start a nail tech business from scratch, then you need to get the basics laid down in your kit. Once you have the initial products, you can begin building out your kit with extra colours, brushes and accessories.
We’ve compiled a list of all the essentials that you need to get started![/vc_column_text][/vc_column][/vc_row][vc_row][vc_column width=”1/2″][vc_column_text]
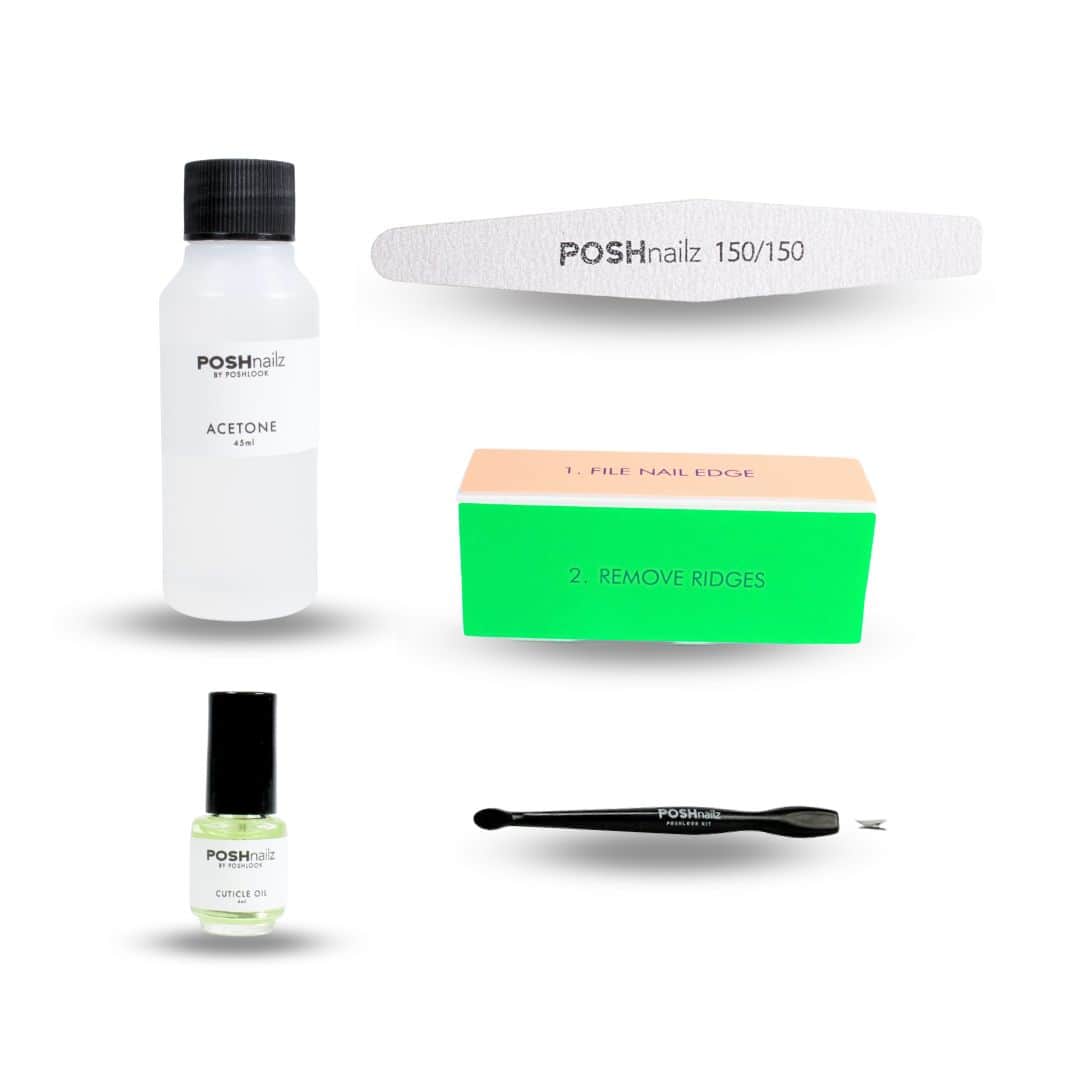
Nail Files
[/vc_column_text][vc_single_image image=”5608″ img_size=”full” alignment=”center”][/vc_column][vc_column width=”1/2″][vc_column_text]
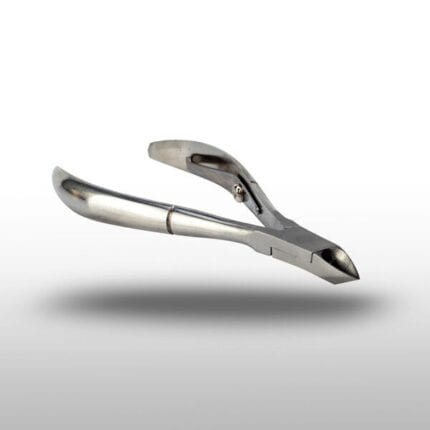
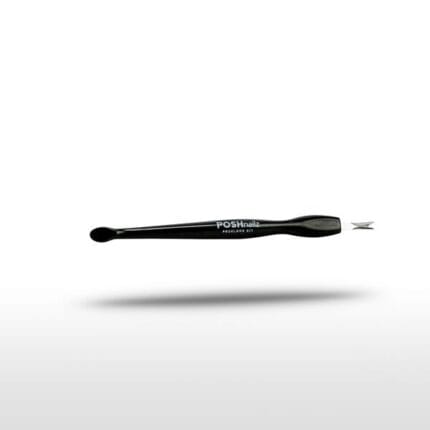
Cuticle Nippers/Pushers
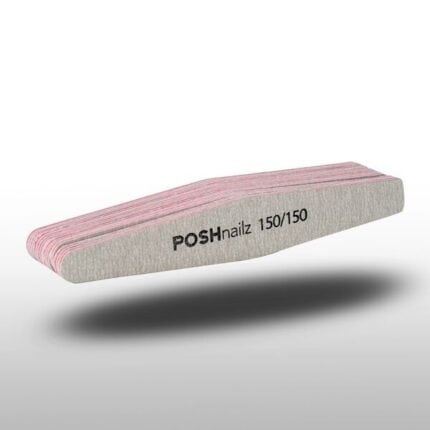
[/vc_column_text][vc_single_image image=”5617″ img_size=”full” alignment=”center”][/vc_column][/vc_row][vc_row][vc_column width=”1/2″][vc_column_text]Nail files are used through many stages of a nail treatment, so you need different types for each step. Disinfect your files after each use to save money on replacements.
- Natural Nail File – this is needed to file down the natural nail and smooth out any nicks or uneven edges before applying acrylics or gel.
- Acrylic Files – a harsher nail file can be used to shape and finish the enhancements that you’ve applied. This will create more precise edges and a professional finish.
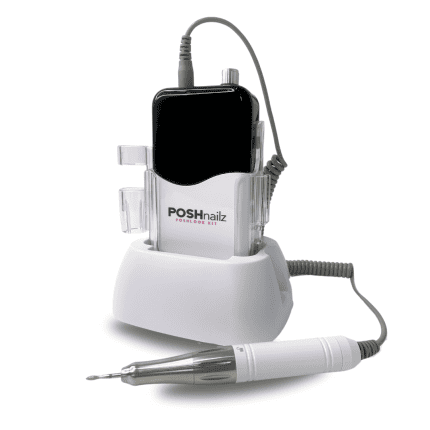
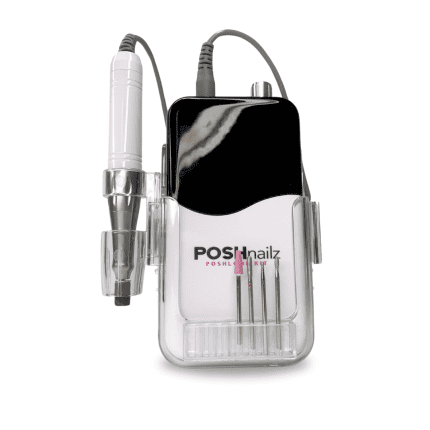
- E-File – some nail techs use an e-file to make their job easier. It makes the job of filing and shaping the nails much quicker and requires less manual effort. E-files are multi-purpose and different drill bits can be applied for tasks such as cleaning under the nails.
[/vc_column_text][/vc_column][vc_column width=”1/2″][vc_column_text]Cuticle nippers and pushers tidy the appearance of the nails before application of the product. In turn, this makes the enhancements look neater and more professional.
- Cuticle Nipper – you can use different sized cuticle nippers for varying levels of precision. A larger set will allow you to trim bigger sections while a smaller set will make it easier to get into little nooks and be more precise.
- Cuticle Pusher – a spoon-shaped, metal cuticle pusher is used to push down the skin that grows from the cuticle to neaten the nail’s appearance and help speed up the process of nail growth.
[/vc_column_text][/vc_column][/vc_row][vc_row][vc_column width=”1/2″]
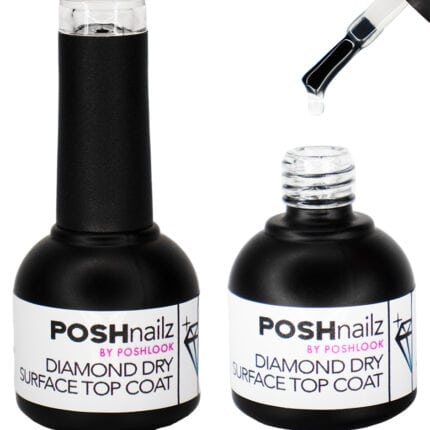
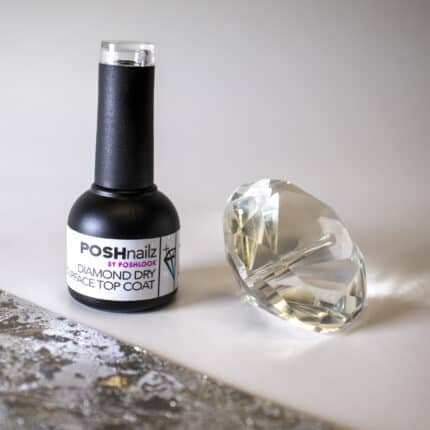
Basecoat/Topcoat
[/vc_column_text][/vc_column][vc_column width=”1/2″][vc_column_text]
Gel Nail Polish
[/vc_column_text][/vc_column][/vc_row][vc_row][vc_column width=”1/2″][vc_single_image image=”5613″ img_size=”full” alignment=”center”][/vc_column][vc_column width=”1/2″][vc_single_image image=”5618″ img_size=”full” alignment=”center”][/vc_column][/vc_row][vc_row][vc_column width=”1/2″][vc_column_text]
- Basecoat – a high-quality basecoat will create a good base to work on and even out any bumps on the natural nail for the enhancement to go on top. It’ll also protect the nails from nail polish staining.
- Topcoat – your topcoat should be fast drying and provide a high-shine, so all of your nails have a glossy finish. It’ll also reduce the risk of chipping.
[/vc_column_text][/vc_column][vc_column width=”1/2″][vc_column_text]You can’t start a nail tech business without plenty of polish! Gel polish can be applied straight onto the natural nail or to enhancements, such as acrylic nails.
You need to consider the vibrancy and lasting power of gel polishes before you decide which ones to purchase. Posh Nailz premium gel polishes guarantee a glamorous finish for up to 4 weeks and are used by industry professionals. Furthermore, they’re specially formulated for mixing so you can create your own shades.
You must have a wide range of colours and textures for your clients to choose from — for example, glitter, metallic and matte shades. [/vc_column_text][/vc_column][/vc_row][vc_row][vc_column width=”1/2″]
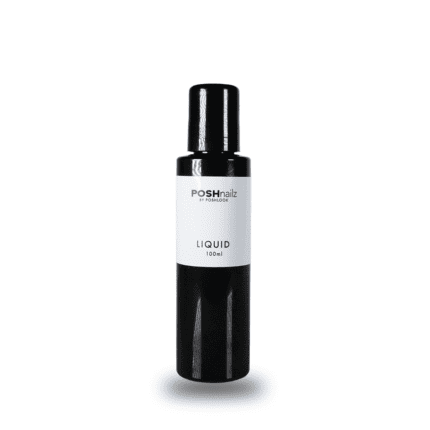
[/vc_column][vc_column width=”1/2″][/vc_column][/vc_row][vc_row][vc_column width=”1/2″][vc_column_text]Acrylic Powder and Liquid
[/vc_column_text][/vc_column][vc_column width=”1/2″][vc_column_text]
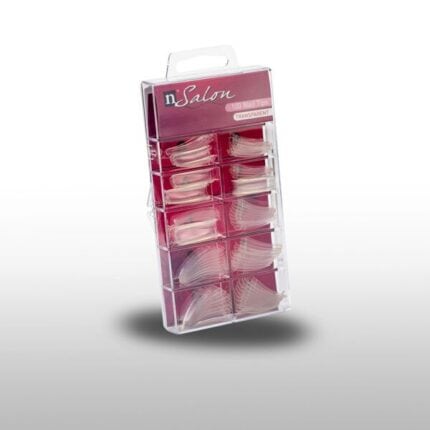
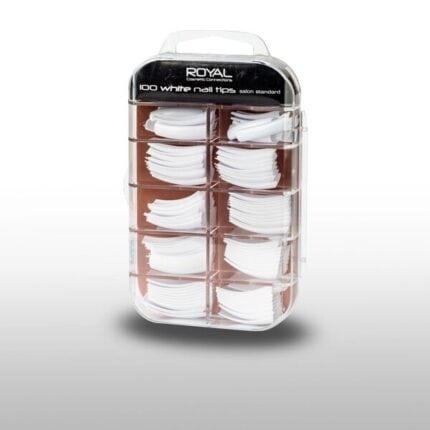
Nail Tips
[/vc_column_text][/vc_column][/vc_row][vc_row][vc_column width=”1/2″][vc_single_image image=”5619″ img_size=”full” alignment=”center”][/vc_column][vc_column width=”1/2″][vc_single_image image=”5620″ img_size=”full” alignment=”center”][/vc_column][/vc_row][vc_row][vc_column width=”1/2″][vc_column_text]
- Acrylic Powder – acrylic nails are more popular than ever, so you must have a wide selection of acrylic powders to choose from to create stunning looks for your clients. Coloured acrylics are perfect for creating a base colour while also forming the nail itself. You can purchase acrylic powders in all colours from the Posh Nailz website.
- Acrylic Liquid – acrylic liquid is mixed with acrylic powder to create the nail itself. You can buy a large bottle of acrylic liquid, so you don’t have to keep repurchasing.
[/vc_column_text][/vc_column][vc_column width=”1/2″][vc_column_text]Nail tips are applied to the tip of the natural nail before acrylic to determine the shape and length of the nails. You can buy nail tips in specific forms, such as stiletto, or buy regular square-shaped tips and cut/file them down into different shapes.
Whichever you opt for, they’re a quick solution in replacement of shaping acrylic with a brush.[/vc_column_text][/vc_column][/vc_row][vc_row][vc_column width=”1/2″]
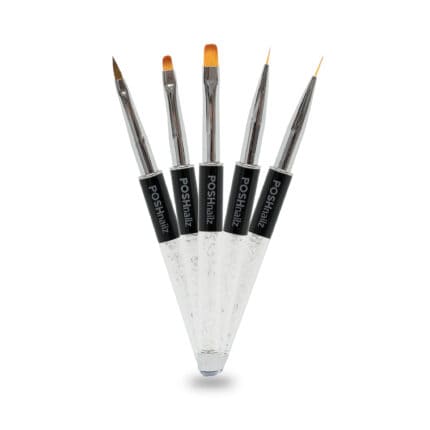
[/vc_column][vc_column width=”1/2″]Nail Brushes
[/vc_column_text][/vc_column][vc_column width=”1/2″][vc_column_text]
Lamp
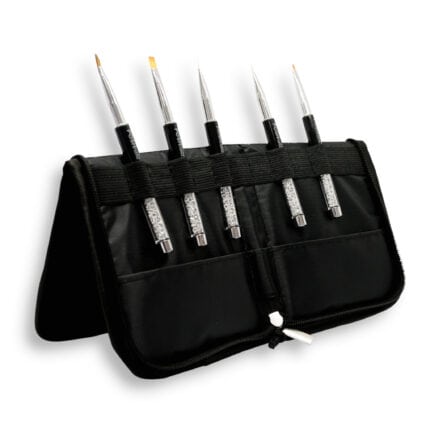
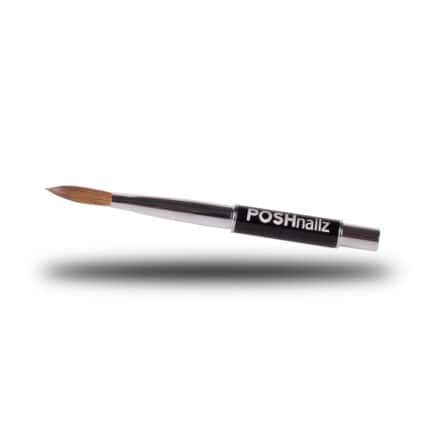
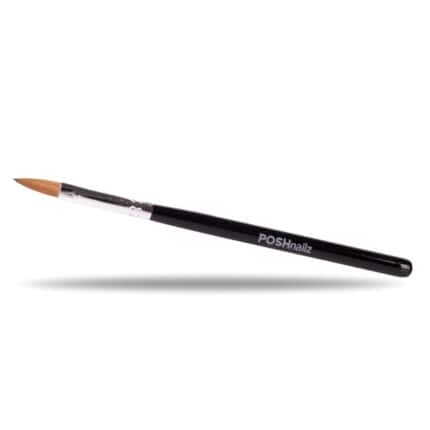
[/vc_column_text][/vc_column][/vc_row][vc_row][vc_column width=”1/2″][vc_single_image image=”5621″ img_size=”full” alignment=”center”][/vc_column][vc_column width=”1/2″][vc_single_image image=”5622″ img_size=”full” alignment=”center”][/vc_column][/vc_row][vc_row][vc_column width=”1/2″][vc_column_text]A successful nail artist needs a good selection of professional-standard brushes so they can apply enhancements with ease and precision. There are a few different types of brushes that a nail tech needs in their kit:
- Acrylic Brush – choosing a professional standard acrylic brush is essential. It needs to be durable and shed-free, so you don’t have to keep replacing it. The better the brush, the more comfortable you’ll find it to mix acrylics and apply them smoothly.
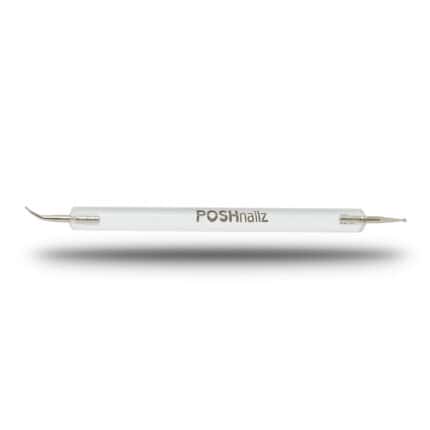
- Nail Art Brushes – you should have a varied selection of bigger and smaller brushes so you can create different designs. Flat tipped brushes, thin brushes, dotting tools – you need them all to avoid being caught short with a client!
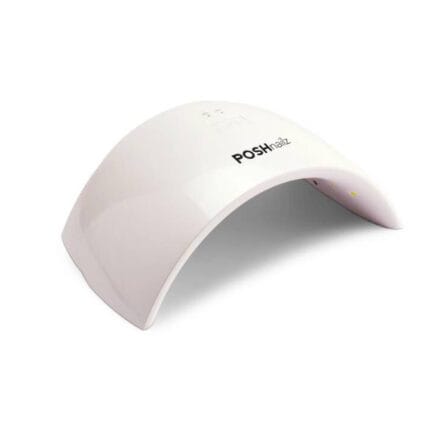
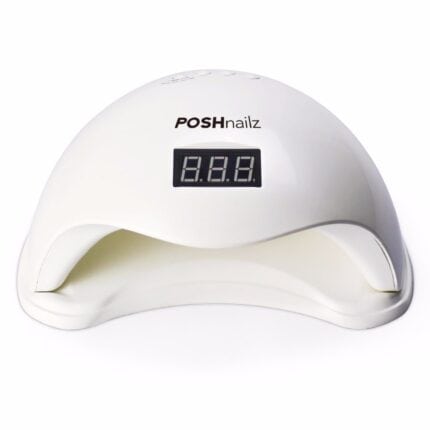
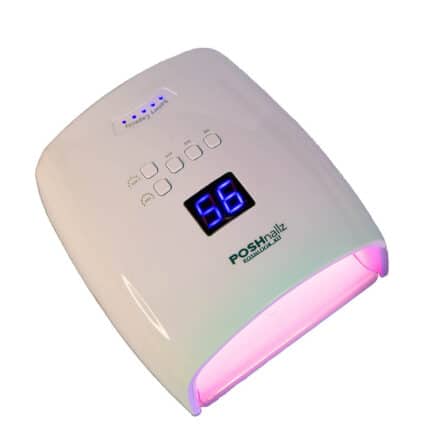
[/vc_column_text][/vc_column][vc_column width=”1/2″][vc_column_text]A UV or LED lamp sets the nails and leaves them with a glossy finish. A lamp is an investment, so choosing the right one is essential. There are many types on the market that’ll give you different levels of convenience, finish and client comfort:
- Standard LED lamp – this’ll have to be plugged into a mains socket so you’ll always need to be near a power outlet when doing treatments. If you’re a mobile technician, this can make your set up quite hard.
- Deluxe LED lamp – the deluxe lamp has a timer display so you can easily see how long the nails have been under the light. Also has to be plugged into a mains socket.
- Cordless UV LED lamp – with the cordless lamp you can work anywhere without a plug holding you back. The UV LED combination also allows you to set any polish, making it suitable for all treatments. It can be fully charged in 2 hours and lasts for 2 hours, with different time settings that you can set with the touch of a button. The cordless feature also means you can easily set pedicures on the floor.
[/vc_column_text][/vc_column][/vc_row][vc_row][vc_column width=”1/2″]
Nail Accessories
[/vc_column_text][/vc_column][vc_column width=”1/2″][vc_column_text]
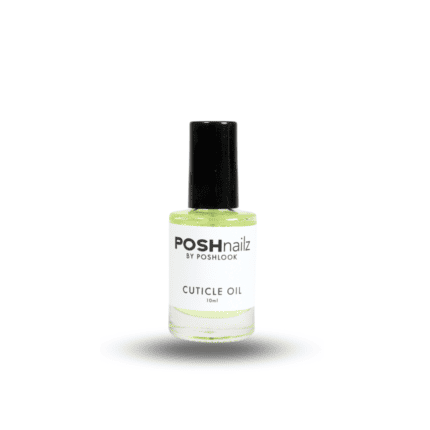
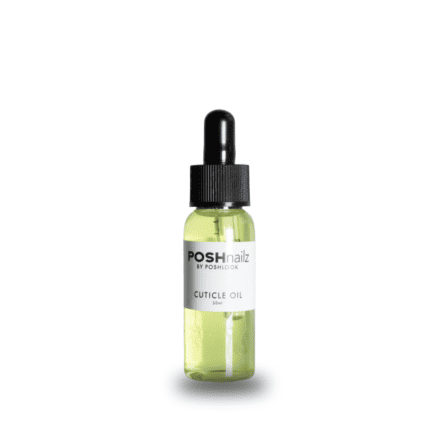
Cuticle Oil
[/vc_column_text][/vc_column][/vc_row][vc_row][vc_column width=”1/2″][vc_single_image image=”5626″ img_size=”full” alignment=”center”][/vc_column][vc_column width=”1/2″][vc_single_image image=”5627″ img_size=”full” alignment=”center”][/vc_column][/vc_row][vc_row][vc_column width=”1/2″][vc_column_text]Nail accessories are a great addition to your kit as you’ll want to create impressive designs and offer different looks. Although they’re not essential to start a nail tech business, but as your clientele grows, you’ll need to expand your kit.
- Glitter and Rhinestones – Glitter and rhinestones are inexpensive and add a glamorous touch to any nail enhancement. During peak seasons such as Summer and Christmas, your clients will expect dazzling looks, so it’s a good idea to have plenty of options in your kit.
- Metallic Powder – Metallic pigments can be applied over the top of polish to create a more exciting look. The high shine creates an eye-catching effect and is very popular on social media.
- 3D pieces – When it comes to nails, some clients think: the chunkier, the better. You can create impressive looks with different 3D accessories, i.e. gold stars and moons have been a popular trend recently.
[/vc_column_text][/vc_column][vc_column width=”1/2″][vc_column_text]Moisturising the cuticles is the final step of any manicure. A high-quality cuticle oil will soothe your client’s nails after all of the cutting and filing. As a result, it’ll also leave them looking extra glossy.
Additionally, cuticle oil is inexpensive and will last you a long time if you don’t go overboard applying it, making it affordable.[/vc_column_text][/vc_column][/vc_row][vc_row][vc_column width=”1/2″]
When you decide to start a nail tech business, the amount of equipment you need to buy may seem overwhelming at first. But, if you build your kit over time, you’ll end up with a high-quality, professional kit that’ll help you create the best sets for your clients. After all, an excellent nail technician deserves a professional kit! Head to our online shop to browse our full range of equipment and get products delivered straight to your door. And don’t forget to follow us on insta for some nail inspo!
[/vc_column_text][/vc_column][/vc_row]


