[vc_row][vc_column][vc_column_text]
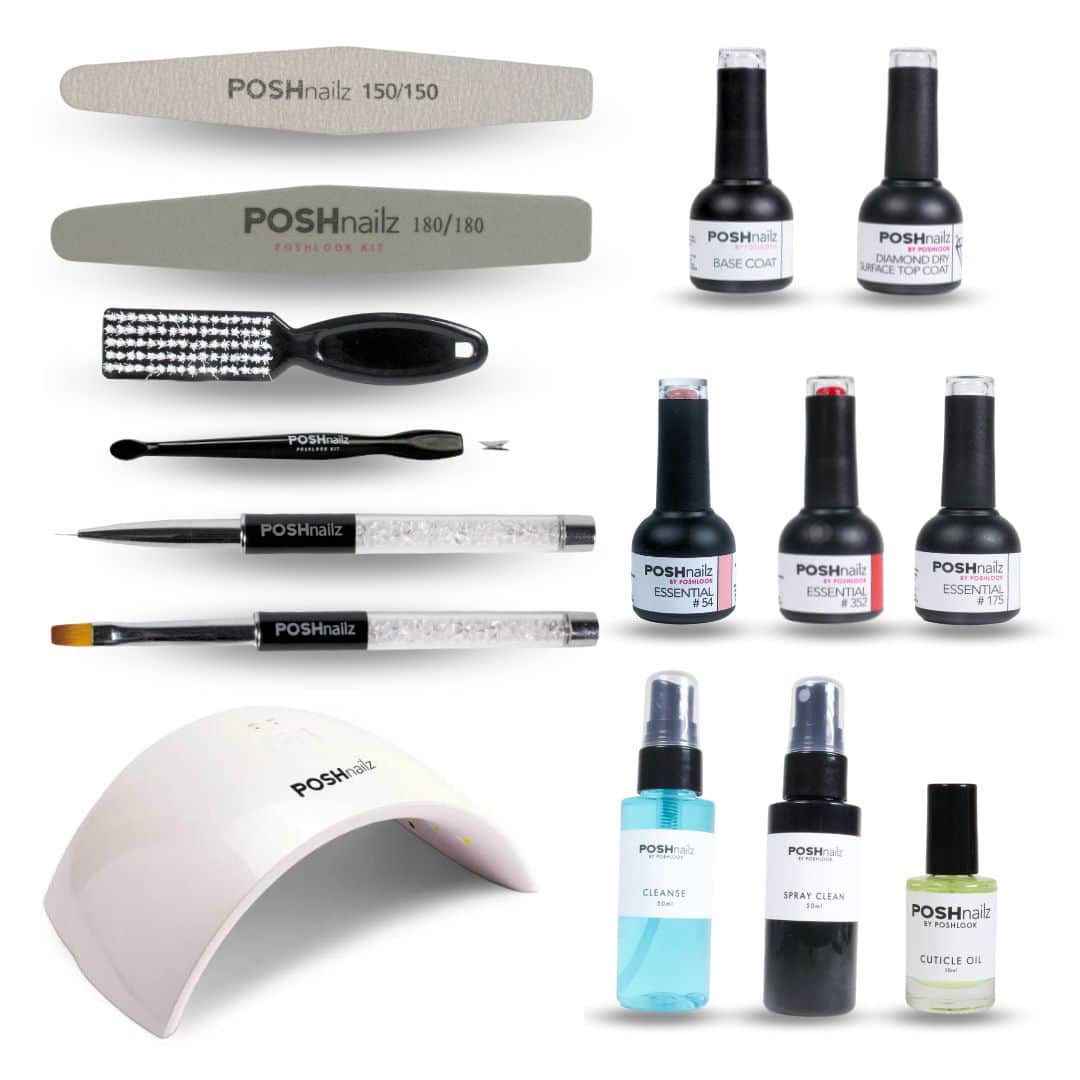
As you may have gathered from reading part one (if you haven’t then make sure you go back to that now), nail technicians need a wide range of equipment to get started.
Part one covered the basics of nail prep, but now for the fun part – application!
From nail glitters to acrylic powders, some nail technician equipment is essential, while other products are good to have so you can create impressive looks.
As long as you have the basics at your disposal, you can slowly expand your kit over time so you’re able to offer a wide variety of looks.
Acrylic Nails
Probably the most frequent type of nail service you will offer, acrylic nails require skill and the right products.[/vc_column_text][vc_row_inner][vc_column_inner width=”1/2″][vc_column_text]
1. Nail forms/tips
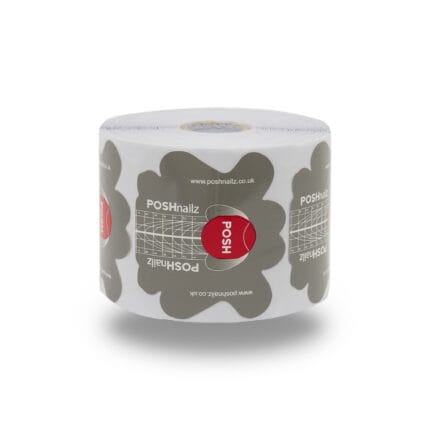
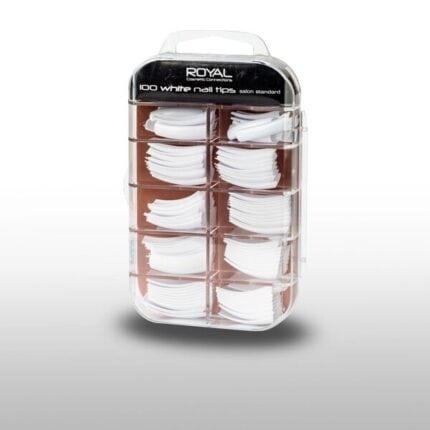
Nail forms and tips are a useful aid for shaping the acrylic nail.
Nail forms are large sticker templates used to sculpt the nail with a brush and powder, whereas nail tips are ready-formed plastic shapes that are filed down to the client’s preference.[/vc_column_text][vc_single_image image=”2788″ img_size=”full” alignment=”center”][vc_column_text]Nail forms are:
- Inexpensive; they can be purchased in bulk, and you can choose from disposable or reusable.
- Trickier to use; placement of the form must be perfect to avoid uneven nails.
Acrylic nails come in a variety of shapes, e.g. stiletto, coffin, so you must practice applying all nail shapes before using nail forms.[/vc_column_text][vc_single_image image=”2790″ img_size=”full” alignment=”center”][vc_column_text]On the other hand, nail tips are:
- Also available to buy in bulk and inexpensive.
- Easier and quicker to use; the nail tip is applied to the client’s nail and cut/filed down to shape.
- The basic nail shape means there’s less margin for error.
[/vc_column_text][/vc_column_inner][vc_column_inner width=”1/2″][vc_column_text]
2. Acrylic Powder
Acrylic powder is the substance that forms the acrylic nail and sometimes the colour of the client’s nails. If you’re using nail tips, the acrylic powder is applied over the top.[/vc_column_text][vc_single_image image=”2787″ img_size=”full” alignment=”center”][vc_column_text]Acrylic powder is:
- Affordable; can be bought in separate pots or collections.
- Applied with acrylic liquid and a brush to form the shape of the nail. This combination creates a long-lasting and durable nail, which is one of the reasons why people choose acrylics.
- Available in a variety of colours – we’re talking pastels, neons, nudes, the possibilities are endless.
- Mixed together to create ombre effects – think french fades like these.
[/vc_column_text][vc_single_image image=”2791″ img_size=”full” alignment=”center”][/vc_column_inner][/vc_row_inner][/vc_column][/vc_row][vc_row full_width=”stretch_row” css=”.vc_custom_1563981668237{margin-top: 30px !important;background-color: #efefef !important;background-position: center !important;background-repeat: no-repeat !important;background-size: cover !important;}” el_class=”p30″][vc_column][vc_column_text]
Shop now
[/vc_column_text]
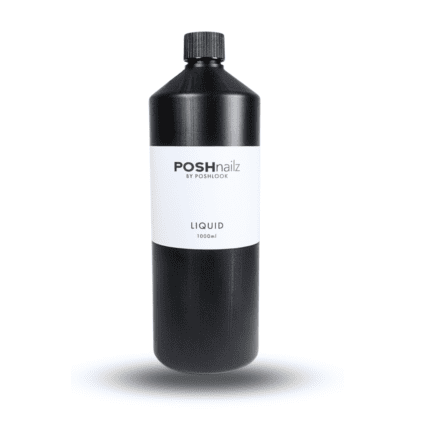
3. Acrylic Liquid
Acrylic liquid is an essential product to have when applying acrylic nails. It’s used in combination with acrylic powder to create the perfect texture for crafting the nail shape.[/vc_column_text][vc_column_text]Acrylic liquid is:
- A strong chemical so it should be applied in a well-ventilated room.
- Available in small/large quantities; suitable for beginners and professionals.
[/vc_column_text][/vc_column_inner][vc_column_inner width=”1/2″][vc_single_image image=”2751″ img_size=”full” alignment=”center”][vc_column_text]
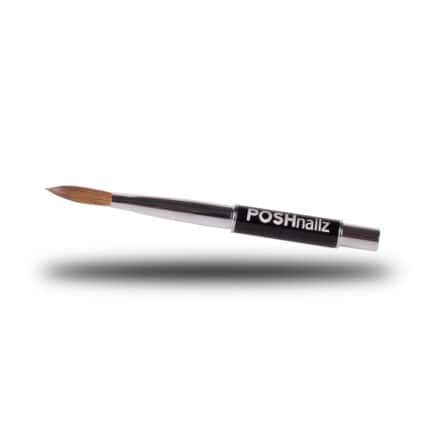
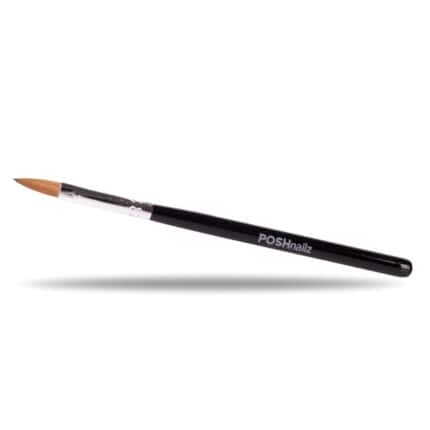
4. Acrylic Brush
[/vc_column_text][vc_column_text]A high-quality acrylic brush is essential for a professional application of the acrylic mixture.
Acrylic brushes can:
- Be re-used and durable if maintained correctly.
- Come in a variety of qualities, so it’s essential to purchase one from a reputable brand.
[/vc_column_text][/vc_column_inner][/vc_row_inner][vc_row_inner][vc_column_inner width=”1/2″][vc_single_image image=”2755″ img_size=”full” alignment=”center”][vc_column_text]
5. Dappen Dish
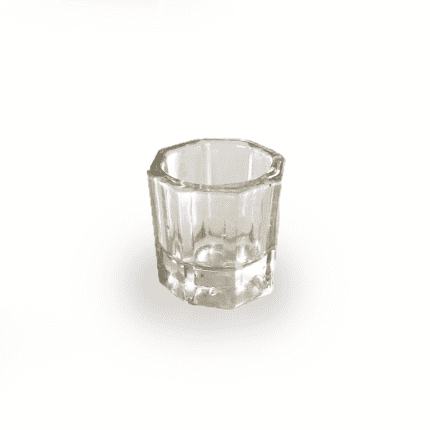
A dappen dish is a small plastic or glass container that holds the acrylic powder and liquid.
Dappen dishes are:
- Small and portable.
- Essential for holding product during the mixing process of the acrylic powder and liquid.
[/vc_column_text][/vc_column_inner][vc_column_inner width=”1/2″][vc_single_image image=”2670″ img_size=”full” alignment=”center”][vc_column_text]
6. Nail Polish
Having a wide variety of polishes in your nail technician equipment is essential so you can offer your clients endless colour choices. [/vc_column_text][vc_column_text]Nail polish is:
- Applied once the acrylic is set. Coloured nail polish is only necessary if the client chooses a clear acrylic.
- Used to create nail art; think marble effects, patterns and intricate designs.
- Easy to apply and leaves a glossy finish.
[/vc_column_text][/vc_column_inner][/vc_row_inner][vc_row_inner][vc_column_inner width=”1/2″][vc_single_image image=”2752″ img_size=”full” alignment=”center”][vc_column_text]
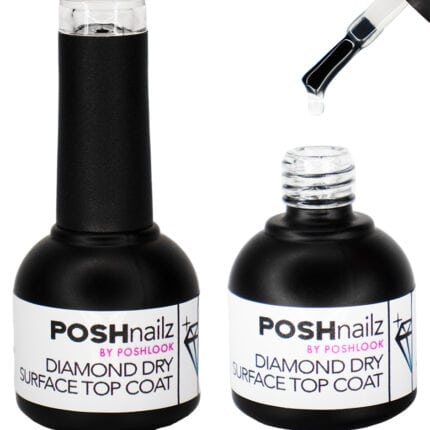
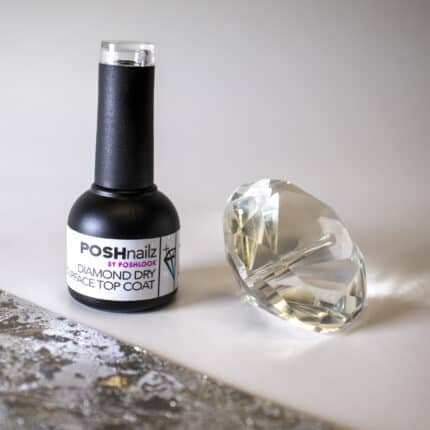
7. Top Coat
Once you apply acrylic nails, it’s important to finish the look off with a top coat.
A high-quality top coat will:
- Create a high-gloss finish and bring out the nail colour.
- Enhance the durability of the manicure by protecting the polish underneath.
[/vc_column_text][/vc_column_inner][vc_column_inner width=”1/2″][/vc_column_inner][/vc_row_inner][/vc_column][/vc_row][vc_row full_width=”stretch_row” css=”.vc_custom_1563981675172{margin-top: 30px !important;background-color: #efefef !important;background-position: center !important;background-repeat: no-repeat !important;background-size: cover !important;}” el_class=”p30″][vc_column][vc_column_text]
Shop now
[/vc_column_text]
Gel Nails
Gel nails are an equally popular request at the nail salon and generally create a more natural look.[/vc_column_text][vc_row_inner][vc_column_inner width=”1/2″][vc_single_image image=”2764″ img_size=”full”][vc_column_text]
1. Base Coat
Prepping the nails is just as important as applying colour, that’s where the base coat comes in.
A base coat will:
- Fill in any cracks and create an even surface to work on.
- Help the polish stick to the nail and prevent peeling.
- Protect nails from coming into contact with coloured polish; avoids staining.
[/vc_column_text][/vc_column_inner][vc_column_inner width=”1/2″][vc_single_image image=”2765″ img_size=”full” alignment=”center”][vc_column_text]
2.Gel Polish
If you’re offering gel nail services, it’s important to have a wide range of colours for your clients to choose from.[/vc_column_text][vc_column_text]Gel polishes are:
- Easy to apply; they are painted onto the nail with the brush that comes with them.
- Glossy and pigmented; available in neons, pastels, glitters.
- Used to create nail art as well as block colours.
[/vc_column_text][/vc_column_inner][/vc_row_inner][vc_row_inner][vc_column_inner width=”1/2″][vc_single_image image=”2763″ img_size=”full”][vc_column_text]
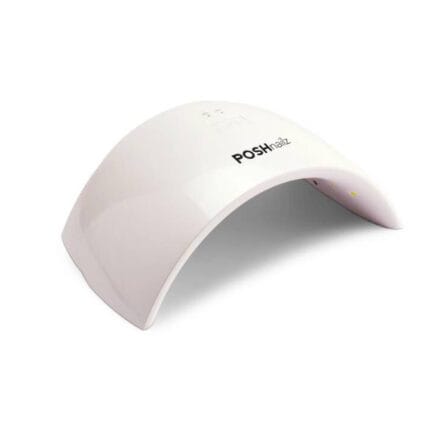
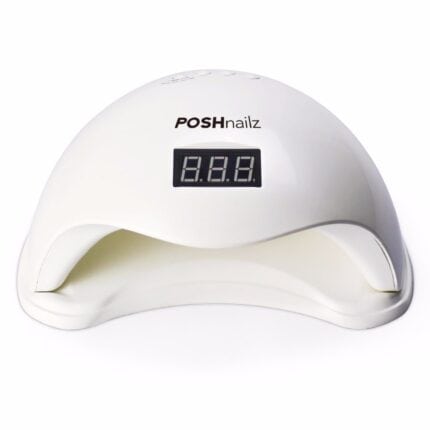
3. UV/LED light
[/vc_column_text][vc_column_text]After each coat of gel polish, the nails are exposed to a UV or LED light which dries the nail and creates a high gloss shine.
UV/LED lights are:
- Available at a variety of price points – it’s important to read reviews before making a purchase.
- Available in wireless or plugin format.
[/vc_column_text][/vc_column_inner][vc_column_inner width=”1/2″][/vc_column_inner][/vc_row_inner][/vc_column][/vc_row][vc_row full_width=”stretch_row” css=”.vc_custom_1563981682647{margin-top: 30px !important;background-color: #efefef !important;background-position: center !important;background-repeat: no-repeat !important;background-size: cover !important;}” el_class=”p30″][vc_column][vc_column_text]
Shop now
[/vc_column_text]
Hard Gel Nails
The equipment you need to apply hard gel nails is similar to that of acrylics because their application processes are alike.
Like with acrylic and gel nails, you will need a base coat, nail forms or tips, a nail brush, nail polish, a top coat and a UV/LED light.[/vc_column_text][vc_column_text]
1. Hard Gel
The only extra equipment you’ll need is the hard gel itself.
Hard gel is:
- Easier to work with than acrylic because it’s more flexible and doesn’t dry as quickly.
- Available in clear, opaque or transparent colours.
[/vc_column_text][/vc_column][/vc_row][vc_row full_width=”stretch_row” css=”.vc_custom_1563981682647{margin-top: 30px !important;background-color: #efefef !important;background-position: center !important;background-repeat: no-repeat !important;background-size: cover !important;}” el_class=”p30″][vc_column][vc_column_text]
Shop now
[/vc_column_text]
[/vc_column][/vc_row][vc_row el_class=”p50″][vc_column][vc_single_image image=”2676″ img_size=”full” alignment=”center”][vc_column_text]Nail Art
Nail art is becoming more popular as people want to show off their unique nails and try out the latest trends.[/vc_column_text][vc_column_text]Offering nail art is an excellent way to gain social media attention because you can ask your clients to post your creations online.[/vc_column_text][vc_row_inner][vc_column_inner width=”1/2″][vc_single_image image=”2778″ img_size=”full” alignment=”center”][vc_column_text]
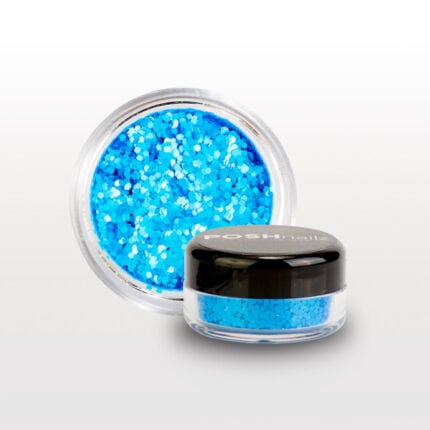
1. Glitters, Discs and Dusts
[/vc_column_text][vc_column_text]Glitters, discs and dusts are extremely popular, especially during holiday seasons and special occasions, making them an important addition to your nail technician equipment.
Glitters, discs and dusts are:
- Quick and easy to apply.
- Can be mixed and layered to create truly unique looks.
- An affordable addition to your nail tech kit.
[/vc_column_text][/vc_column_inner][vc_column_inner width=”1/2″][vc_single_image image=”2779″ img_size=”full” alignment=”center”][vc_column_text]
2. Gems/Rhinestones
[/vc_column_text][vc_column_text]Gems and rhinestones can instantly make any manicure look expensive.
Gems and rhinestones are:
- Available in different shapes, sizes and colours to suit your client’s preference.
- Trickier to apply – they require glue and tweezers to create symmetrical patterns.
- Affordable, but look expensive.
[/vc_column_text][/vc_column_inner][/vc_row_inner][vc_row_inner][vc_column_inner width=”1/2″][vc_single_image image=”2775″ img_size=”full” alignment=”center”][vc_column_text]
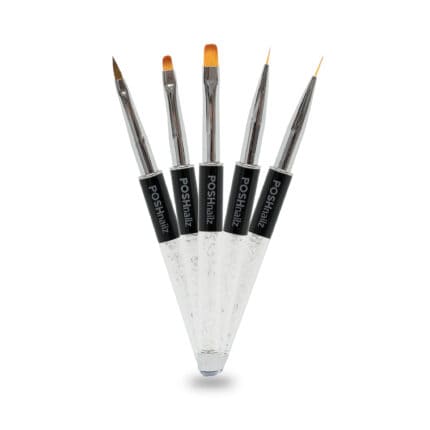
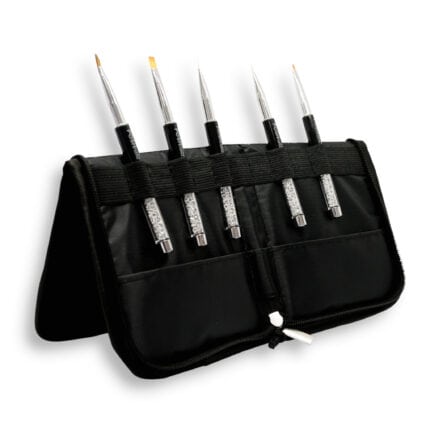
3.Nail Art Brushes
[/vc_column_text][vc_column_text]Nail art brushes of different sizes are essential for creating intricate designs with polish.
Nail art brushes are:
- Available in collections or can be bought individually.
- Useful for creating different patterns as they can be thin, thick or flat-topped.
[/vc_column_text][/vc_column_inner][vc_column_inner width=”1/2″][vc_single_image image=”2780″ img_size=”full” alignment=”center”][vc_column_text]
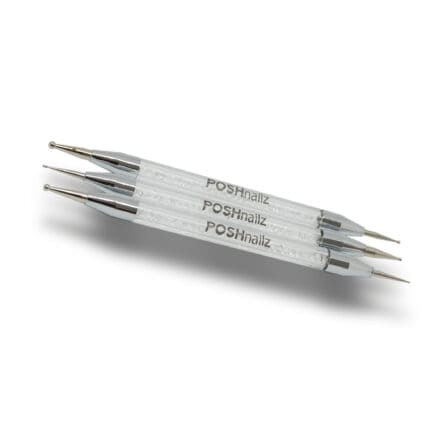
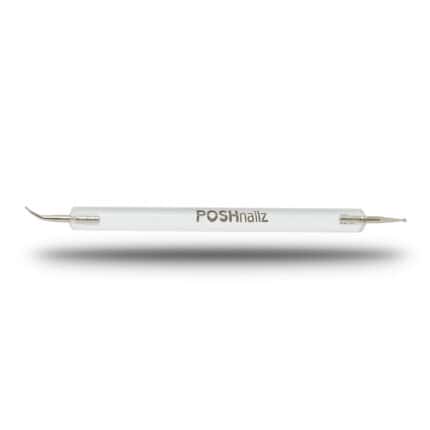
4. Dotting Tool
Dotting tools are metal applicators used to create perfect circles and dots on the client’s nails.
Dotting tools are:
- Useful for creating numerous designs such as polka dots, flowers and leopard print.
- A handy edition to your kit, making nail art less time consuming.
- Inexpensive.
[/vc_column_text][/vc_column_inner][/vc_row_inner][/vc_column][/vc_row][vc_row full_width=”stretch_row” css=”.vc_custom_1563981682647{margin-top: 30px !important;background-color: #efefef !important;background-position: center !important;background-repeat: no-repeat !important;background-size: cover !important;}” el_class=”p30″][vc_column][vc_column_text]
Shop now
[/vc_column_text]
Removal
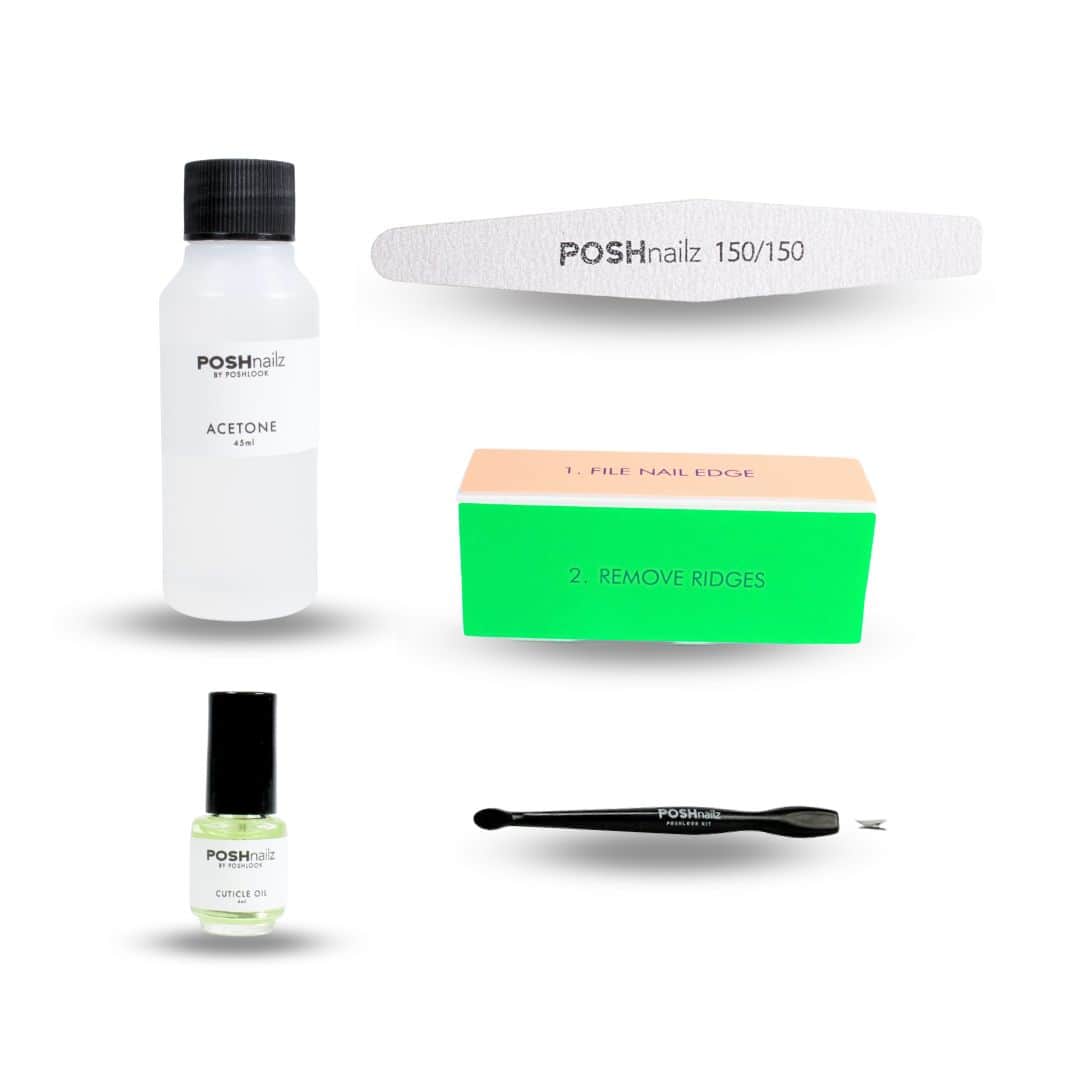
[/vc_column_text][vc_column_text]An essential part of any nail technician’s equipment are the tools for removal.
If your client turns up with a 3-week old manicure or remnants of nail polish, then they need to be removed before starting a fresh set.
You may even choose to offer a formal removal service, which will generate further income.[/vc_column_text][vc_row_inner][vc_column_inner width=”1/2″][vc_single_image image=”2681″ img_size=”full” alignment=”center”][vc_column_text]
1. Nail Polish Remover
[/vc_column_text][vc_column_text]There are two types of nail polish remover: acetone and non-acetone.
Acetone nail polish remover is:
- Most effective at removing polish, especially multiple layers and dark colours.
- Harsh on sensitive nails and skin.
Non-Acetone nail polish remover is:
- Gentle as it contains less aggressive solvents.
- Requires more effort to remove polish.
- More suitable for clients with sensitive nails and skin.
[/vc_column_text][/vc_column_inner][vc_column_inner width=”1/2″][vc_single_image image=”2682″ img_size=”full” alignment=”center”][vc_column_text]
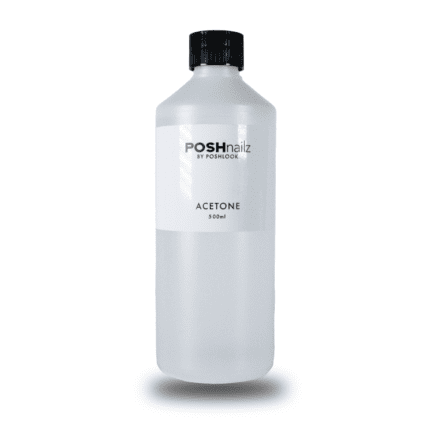
2. Acetone and Manicure Bowl
[/vc_column_text][vc_column_text]Pure acetone is a powerful chemical that is used to remove acrylic and gel nails, which are notorious for being stubborn.
After filing down the nails for removal, acetone is poured into a manicure bowl for the client to soak their nails until the hard nails become soft enough to wipe off.
Properties of acetone:
- It’s a harsh chemical so it can be irritating on sensitive nails and skin.
- It softens acrylic and gel nails to prevent the removal from ripping and damaging the natural nail.
[/vc_column_text][/vc_column_inner][/vc_row_inner][vc_row_inner][vc_column_inner width=”1/2″][vc_single_image image=”2758″ img_size=”full” alignment=”center”][vc_column_text]
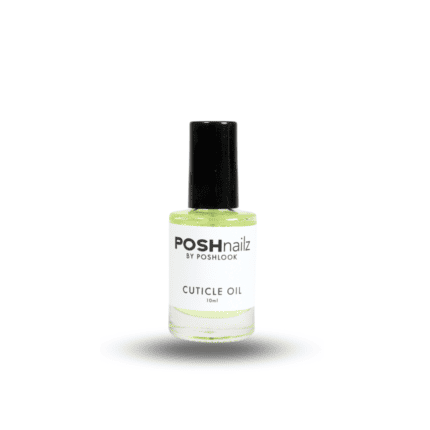
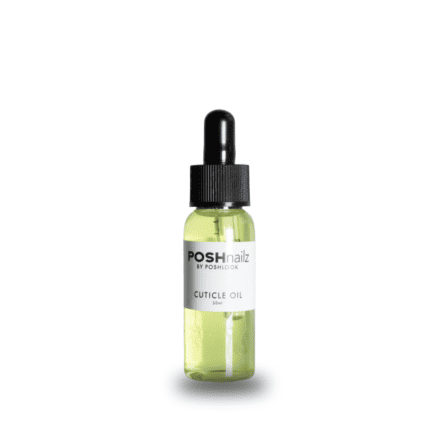
3. Cuticle Oil
[/vc_column_text][vc_column_text]It’s important to moisturise the nails with cuticle oil after they’ve been exposed to acetone.
A good cuticle oil will:
- Moisturise dry nails and help to repair any cracks or dryness.
- Create a smooth surface to work on.
Cuticle oils are also used once acrylics or gel nails have been applied to moisturise the client’s nails after the application process.[/vc_column_text][/vc_column_inner][vc_column_inner width=”1/2″][/vc_column_inner][/vc_row_inner][/vc_column][/vc_row][vc_row full_width=”stretch_row” css=”.vc_custom_1563981694267{margin-top: 30px !important;background-color: #efefef !important;background-position: center !important;background-repeat: no-repeat !important;background-size: cover !important;}” el_class=”p30″][vc_column][vc_column_text]
Shop now
[/vc_column_text]
It’s essential that your nail technician equipment contains everything you’ll need for preparation, application and aftercare so you can deliver the full experience to your clients.
If you’ve read this list and applied it to your kit, then you’re ready to start creating beautiful looks and designs on your clients’ nails! [/vc_column_text][/vc_column][/vc_row]


