[vc_row][vc_column][vc_column_text]
Flawless, dewy makeup is something every MUA dreams of. With the rise of beauty bloggers and online makeup communities, there’s a lot of opinions around what the correct makeup techniques are.
There are basic methods to follow, but these can differ slightly depending on your client’s skin type, age and makeup preferences.
Luckily for you, we’ve listed all of the tips and tricks you’ll need to accomplish that gorgeous glow and get the clients rolling in.
1. Tailor Your Routine
The correct order of makeup application is up for debate, but it’s all down to personal preference.
Many MUAs choose to perfect the brows and apply eyeshadow before starting the base makeup. This is a good idea if you plan on creating a dramatic eye look, as it’ll prevent eyeshadow fallout from ruining the face makeup.
[/vc_column_text][vc_single_image image=”2891″ img_size=”full” alignment=”center”][vc_column_text]
Applying foundation as a final step will also make it appear fresher, helping to create a youthful glow.
On the other hand, some MUAs like to apply face makeup first, so they have a blank canvas to work on.
Applying makeup in this order tends to look more natural, so it’s a good option if your client would prefer a less dramatic look.
[/vc_column_text][vc_column_text]
2. Lighting
The only thing worse than an orange foundation face is paying an MUA to apply it.
Clear lighting is vital when you’re applying makeup to avoid harsh, unnatural lines and foundation shade mishaps.
[/vc_column_text][vc_single_image image=”2892″ img_size=”full” alignment=”center”][vc_column_text]
Natural lighting is the most honest, so it’ll stop you from going too intense with the makeup and creating a client meltdown when they step outside.
If natural lighting isn’t a possibility, then consider investing in a studio or ring light, to clearly illuminate the client’s face.
TOP TIP: It’s helpful to be in a ventilated/air-conditioned room to prevent the makeup from melting and sliding. Applying makeup in a hot environment can be far more time consuming, as products become harder to work with and blend into the skin.
[/vc_column_text][vc_column_text]
3. Hygiene
Hygiene is key, not only for your reputation but for your client’s safety. Avoid cross-contamination and nasty infections by incorporating a strict cleaning routine into your working day. Clean your makeup brushes after use on every client and thoroughly sanitise your hands.
[/vc_column_text][vc_single_image image=”2893″ img_size=”full” alignment=”center”][vc_column_text]
You can also use different makeup techniques to apply products hygienically. Pour makeup onto a palette or the back of your hand, rather than double-dipping a brush into the products. This will prevent bacteria from re-entering and contaminating your makeup.
Don’t blow on makeup brushes to remove excess product, instead tap the product off, to avoid transferring your germs onto the client’s face.
Sponges are absorbent, making them hard to sanitise, so it’s important to use a disposable one on each client. Similarly, invest in disposable eyebrow/mascara brushes to avoid giving your clients nasty eye infections.
Keep a record of the dates on your makeup, as many infections are as a result of expired products.
TOP TIP: Breath spray or chewing gum is a nice touch, so you have fresh breath when in close contact with your client’s face.
[/vc_column_text][vc_column_text]
4. Skin Prep
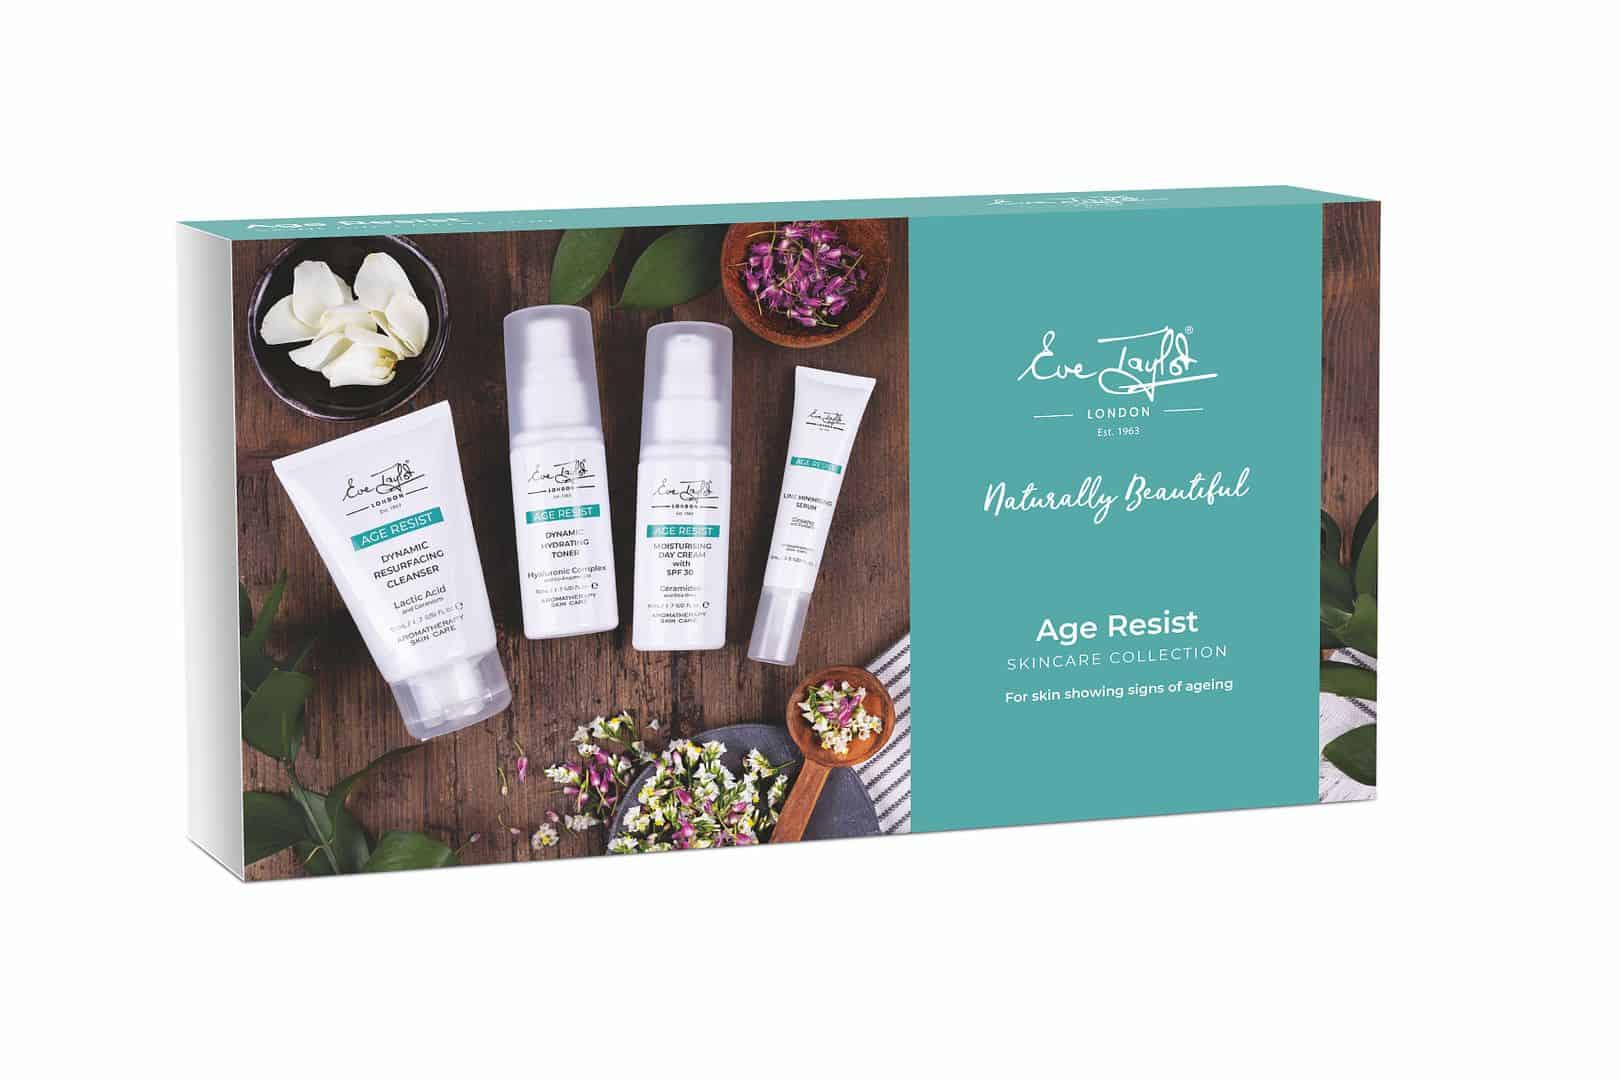
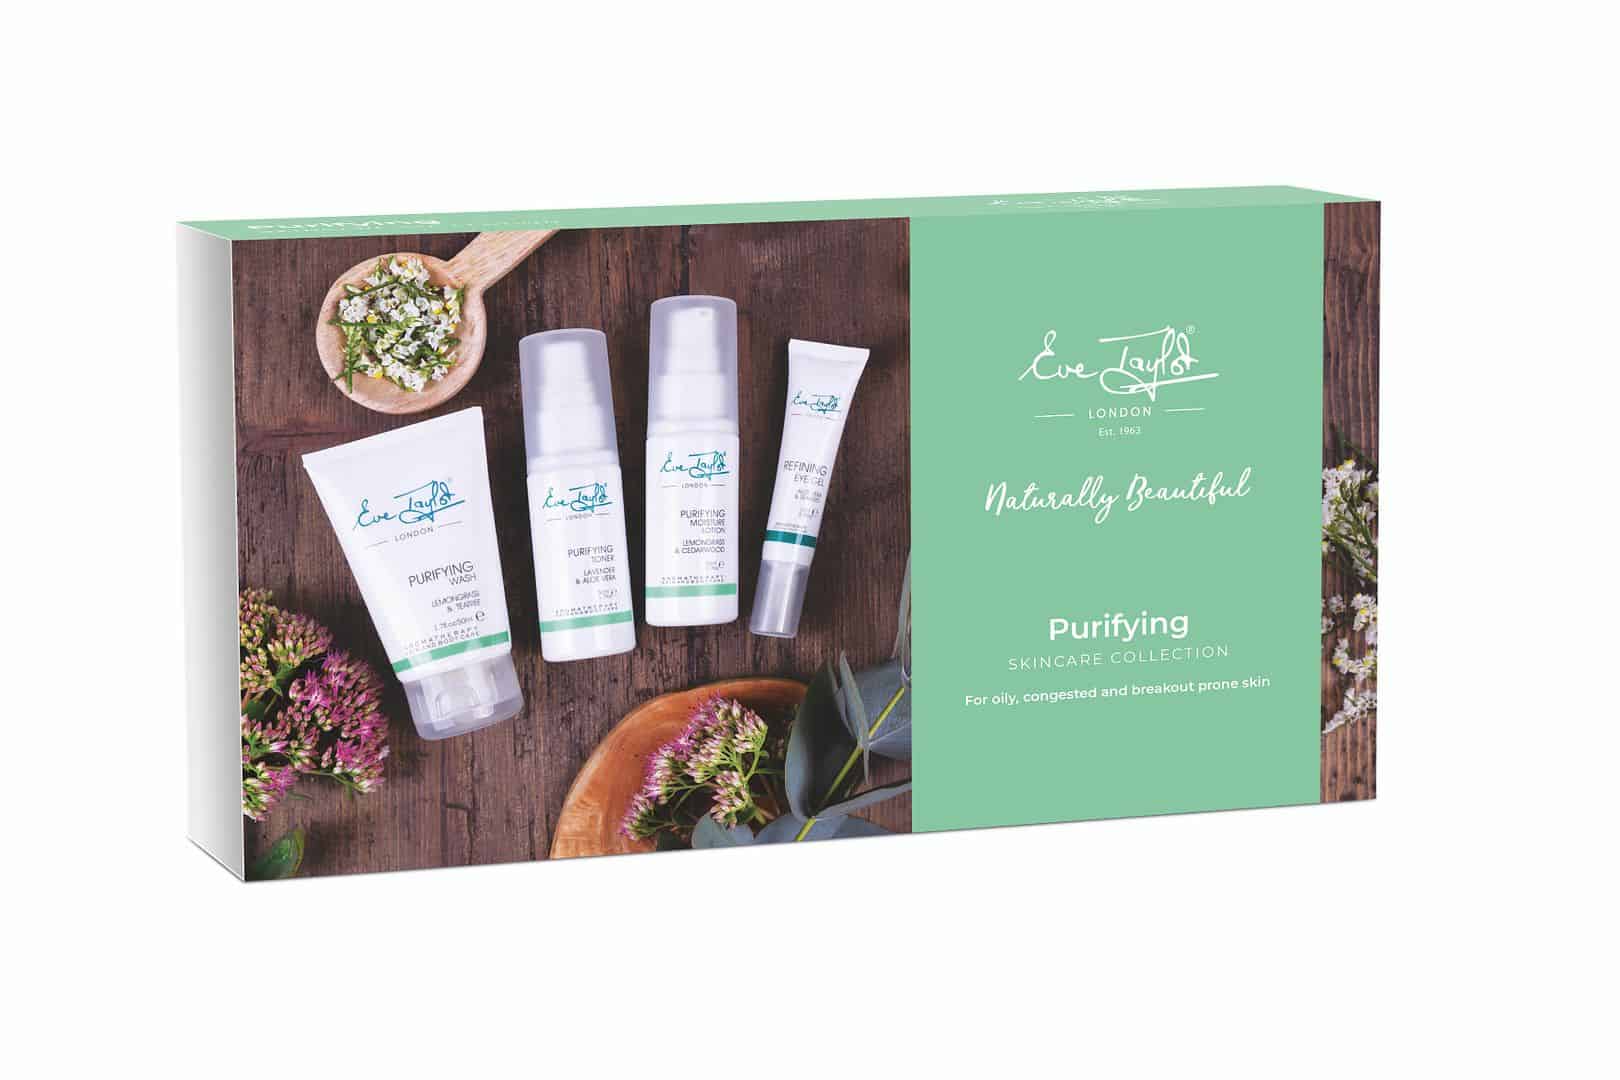
Skin prep is a crucial step to take before applying face makeup, as it minimises the look of pores and creates a smooth surface to work on.
[/vc_column_text][vc_single_image image=”2894″ img_size=”full” alignment=”center”][vc_column_text]
Skin prep is a crucial step to take before applying face makeup, as it minimises the look of pores and creates a smooth surface to work on.
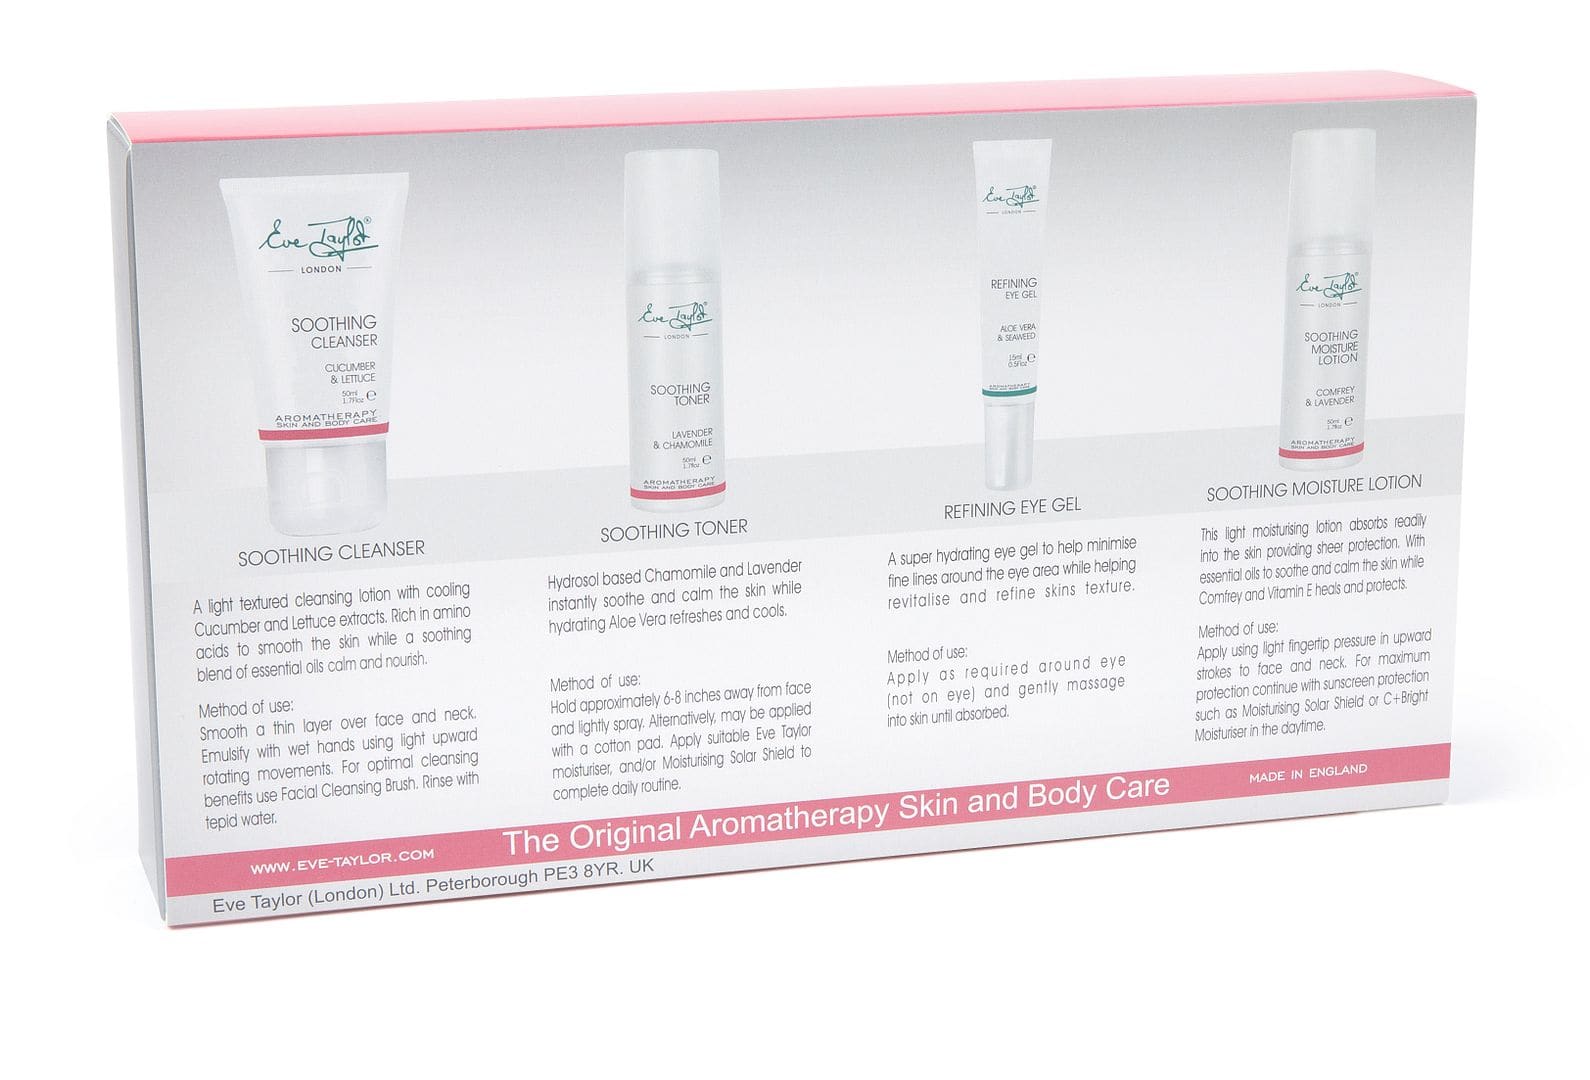
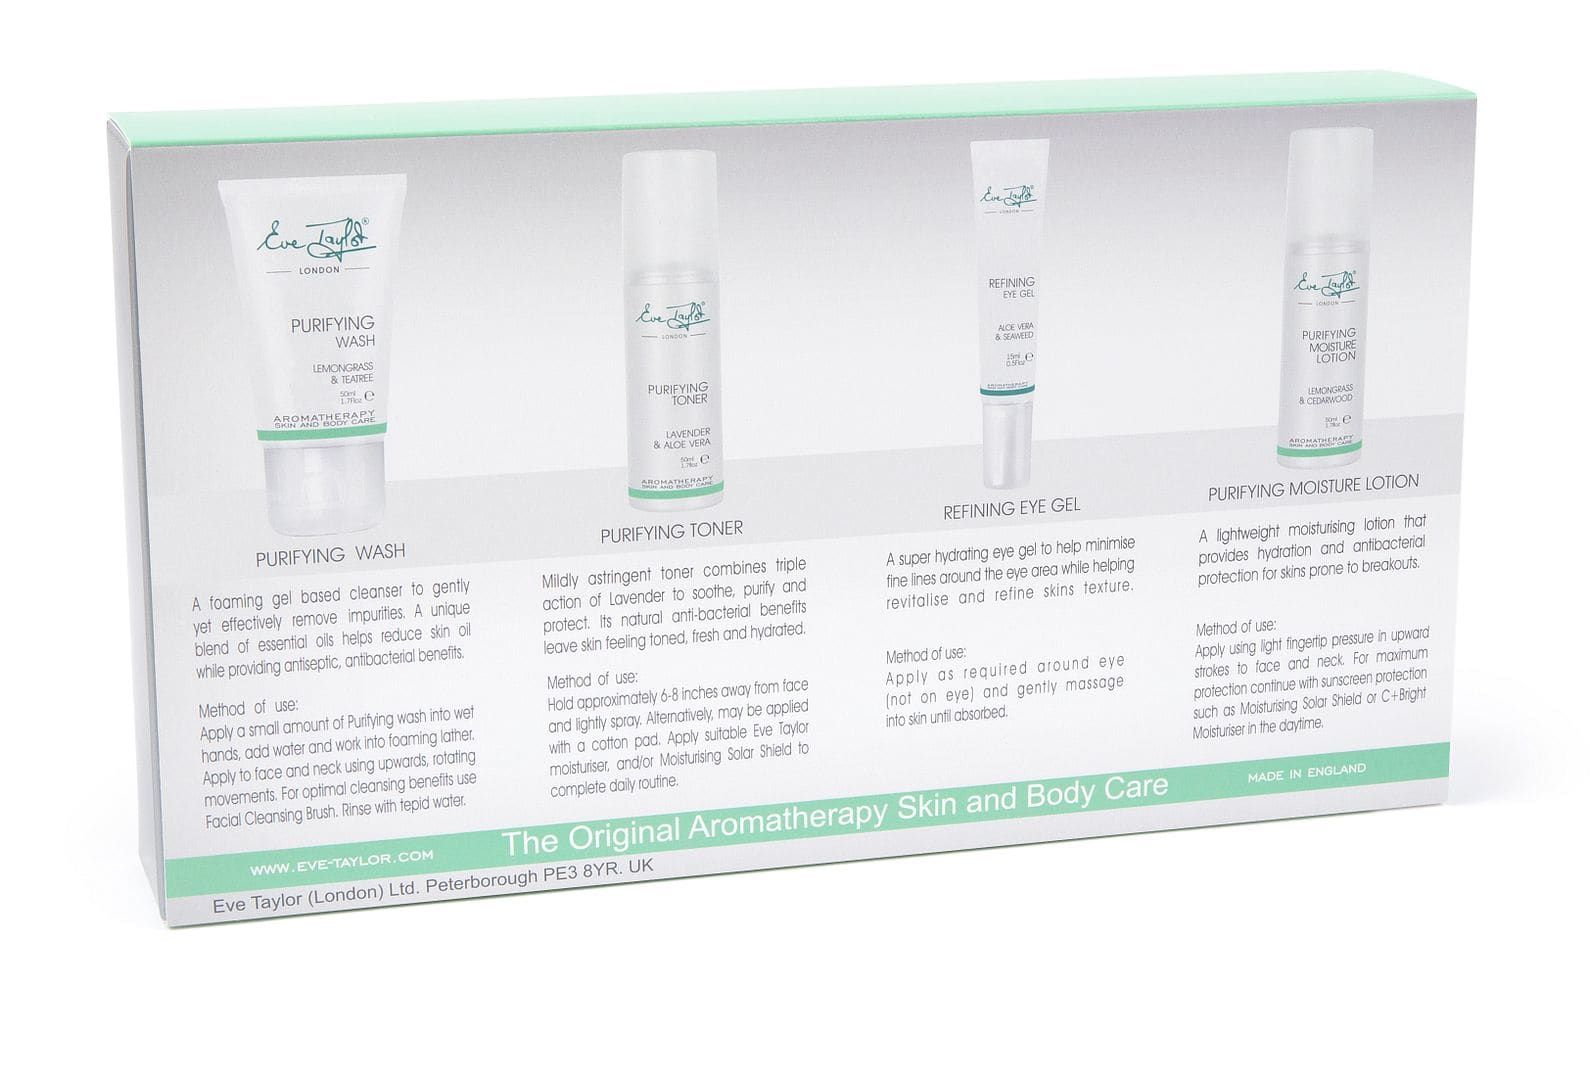
The first step is cleanser, which will clear the skin of impurities before the application of products.
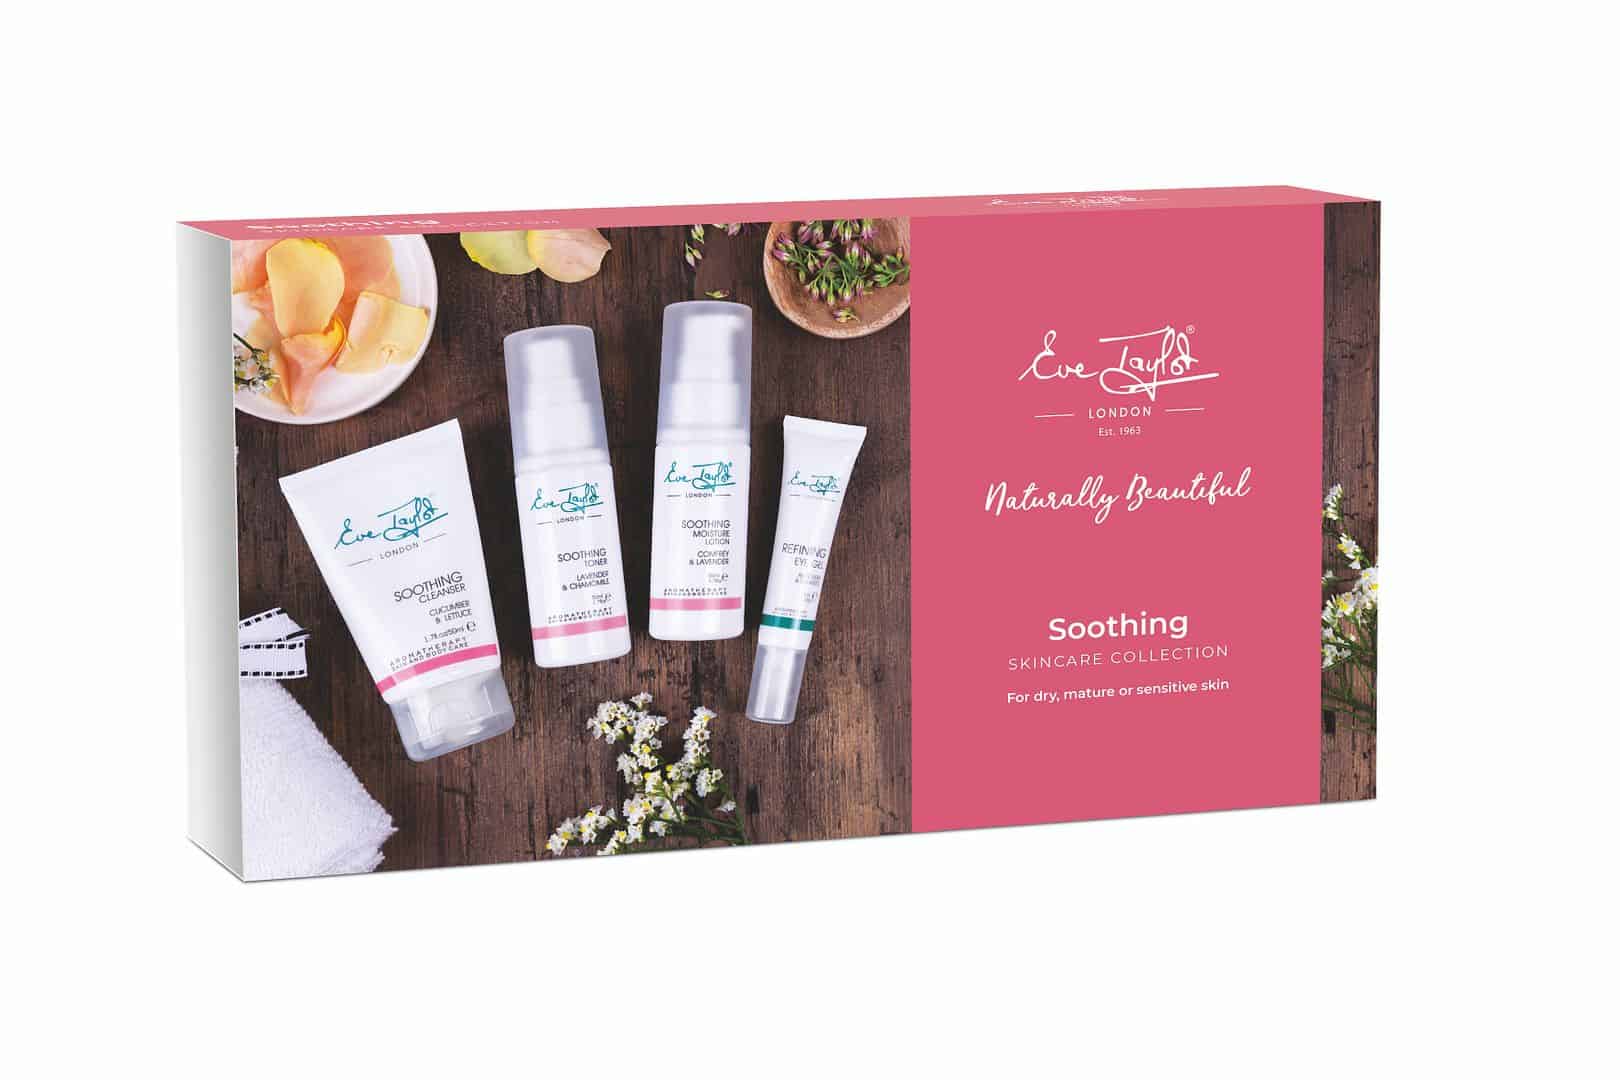
Once the skin is clean, you need to restore moisture. Moisturiser prevents the skin from drying out after cleansing it.
TOP TIP: The warmth of your fingertips will help to work the moisturiser into the skin but ask the client if you can touch their face first.
Primer gives the foundation a base to stick to and fills in the pores. Without primer, the foundation will settle into the pores making it look visible and cakey.
[/vc_column_text][vc_cta h2=”Always wanted to be a professional MUA?” txt_align=”center” add_button=”bottom” btn_title=”Makeup Artistry Courses” btn_style=”custom” btn_custom_text=”#000000″ btn_shape=”square” btn_size=”lg” btn_align=”center” btn_link=”url:https%3A%2F%2Fposhnailz.co.uk%2Ftraining%2F%3Flocation%3D%26course_type%3D28|||”]
We offer industry level Makeup Artistry courses across eight training centres!
[/vc_cta][vc_column_text]
5. Colour Correction
Colour correction enhances the quality of face makeup by neutralising discolouration of the skin. Different colours correct different skin problems, so it’s good to know when you should use colour correctors.
[/vc_column_text][vc_single_image image=”2895″ img_size=”full” alignment=”center”][vc_column_text]
If your client suffers from redness or has acne-prone skin, a green colour corrector will be the most effective at neutralising the skin tone.
Discolouration under the eyes is a common problem. Yellow tones will correct dark circles and purple undertones, making them easier to cover with concealer.
Orange and yellow tones also add warmth to the skin, making it easier to achieve a glowy look.
A purple colour corrector is useful for correcting any yellow spots or tan mishaps.
[/vc_column_text][vc_column_text]
6. Foundation
When it comes to applying foundation, there are a few makeup techniques to consider, but it’s about finding what delivers the best results for you. First and foremost, as an MUA, you should have a range of shades and types of foundation in your kit.
[/vc_column_text][vc_single_image image=”2896″ img_size=”full” alignment=”center”][vc_column_text]
To pick the best foundation for your client, consider their skin type, undertones and the level of coverage they want.
When choosing a shade, do a test against the client’s neck and wait until it dries and oxidises to see its true colour.
If the client has oily skin, a mattifying foundation is the best choice, whereas a dewy foundation will work better on dry skin.
You can choose to apply foundation with a brush or sponge. A brush is the best option for achieving full coverage because it has bristles which won’t absorb the product.
On the other hand, sponges are notorious for soaking up foundation and have to be dampened before use to waste less product.
[/vc_column_text][vc_single_image image=”2897″ img_size=”full” alignment=”center”][vc_column_text]
Despite their differences, the application methods are similar for brushes and sponges.
Pour the foundation onto the back of your hand or a palette then gradually add it to the face. The general rule when applying foundation is to use a patting motion and downward strokes to avoid a streaky finish.
Slowly build up coverage where necessary, because it’s easier to add product than it is to take it off without ruining the makeup.
To make the skin look seamless, blend the foundation down the neck and onto the ears.
The amount of foundation you apply will vary depending on your client’s age and the reason they’re wearing makeup. For mature skin, apply less and use a sheer foundation to avoid the product settling into wrinkles.
TOP TIP: If you’re creating a day look, a sheer foundation will be more flattering – leave the heavier foundations for the evening.
[/vc_column_text][vc_column_text]
7. Concealer
In terms of skill, applying concealer doesn’t require advanced makeup techniques.
Concealer enhances the coverage of blemishes and dark circles. Use a slightly lighter shade under the eyes to highlight the face and counteract any signs of tiredness.
[/vc_column_text][vc_single_image image=”2898″ img_size=”full” alignment=”center”][vc_column_text]
Like with foundation, don’t cake concealer on otherwise it can crease, especially under the eyes and around the mouth. Apply the concealer in a triangle shape to brighten the whole face.
When targeting blemishes, it helps to set the concealer with a mattifying powder to blend it into the skin. You can layer powder multiple times to increase the coverage.
[/vc_column_text][vc_column_text]
8. Powder
Powders can be loose or pressed, making their application techniques different.
Loose translucent powder is colourless and used to mattify the skin. Baking is a popular makeup technique used to apply translucent powder. To bake, pack the powder under the eyes and cheekbones with a sponge.
[/vc_column_text][vc_video link=”https://www.youtube.com/watch?v=UE21W4lsGtA” align=”center”][vc_column_text]
Leave the powder to set for at least ten minutes, then gently brush it off to leave the skin mattified. This technique is useful for enhancing the coverage of evening or photoshoot makeup.
TOP TIP: Baking is also a good way to catch eyeshadow fallout which can then be brushed off.
Pressed powder can be translucent or tinted. Tinted pressed powder enhances coverage as it layers more pigment onto the skin.
Apply pressed powder with a large, fluffy brush to avoid over-mattifying the skin and losing the natural glow.
A dense brush can be used to target specific areas, such as the T-zone, that may need extra powder.
[/vc_column_text][vc_column_text]
9. Bronzer and Blush
Bronzer and blush restore colour to the face to create a youthful glow. Be aware of your makeup techniques when applying these products, as it’s easy to go overboard.
[/vc_column_text][vc_single_image image=”2899″ img_size=”full” alignment=”center”][vc_column_text]
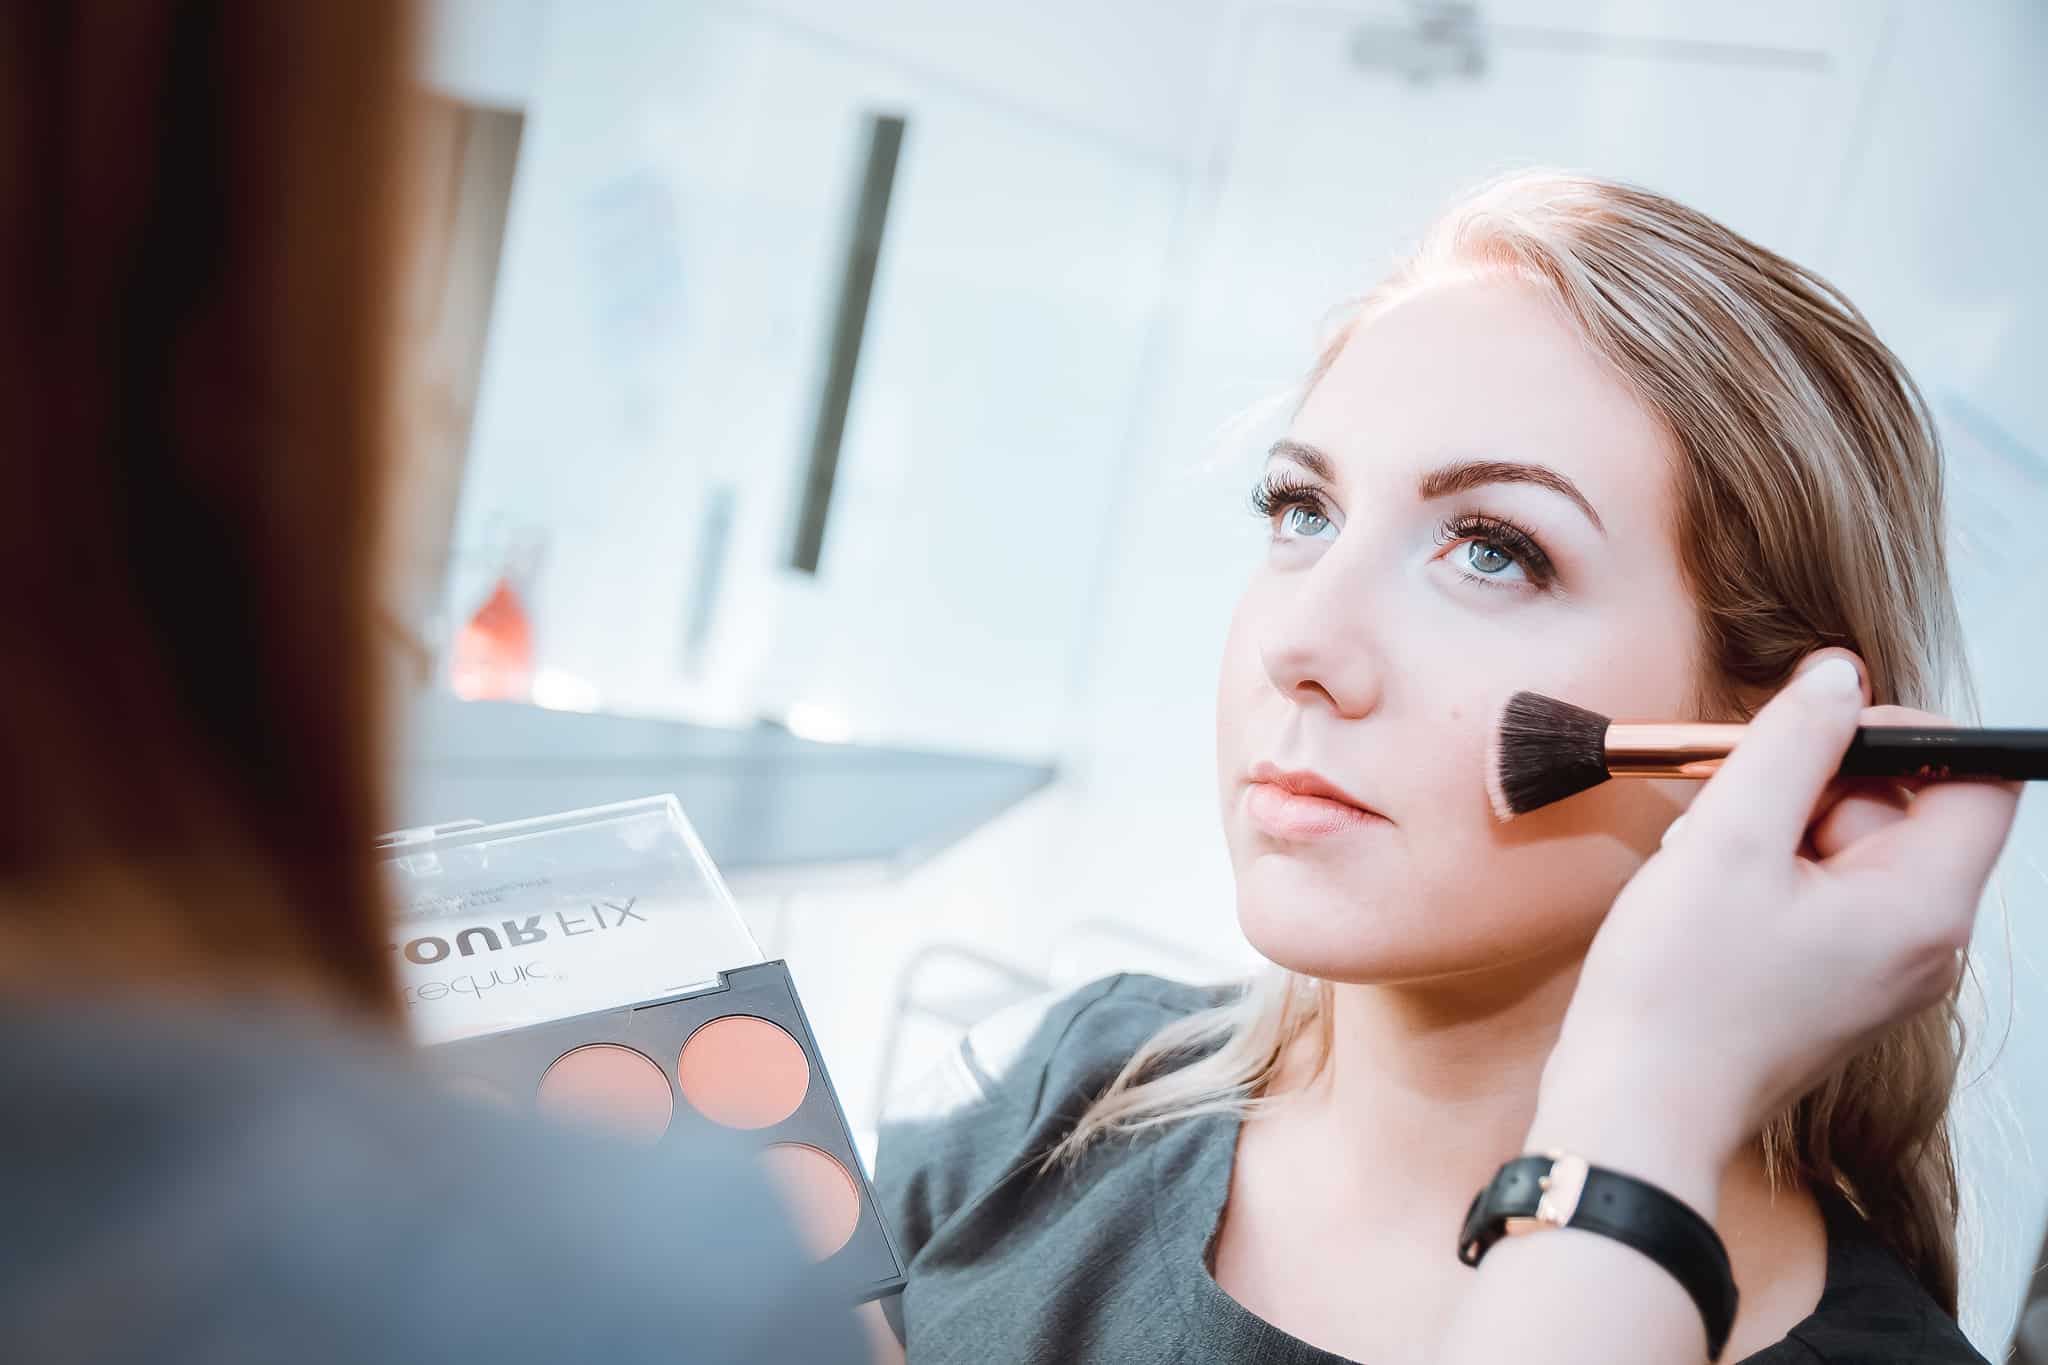
Opt for a fluffy brush when applying bronzer and blush as this will help you to avoid harsh lines. Dip the brush lightly into the product then apply to the cheeks in circular motions.
Blusher should only be applied to the apples of cheeks. You can ask your client to smile and pop out their cheeks, which will make it easier for you to apply the blush in the correct place.
Apply bronzer to places which would naturally catch the sun, such as the forehead, tops of the cheekbones and nose.
TOP TIP: The goal is to achieve a natural sunkissed look, so applying lightly and gradually is key.
[/vc_column_text][vc_column_text]
10. Setting Spray
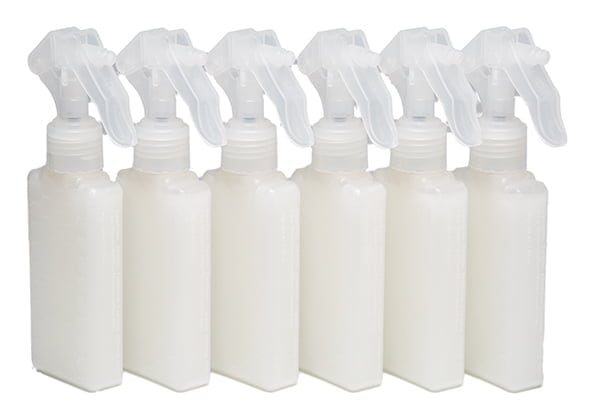
Make sure you lock in all that hard work with a good setting spray, so your client’s makeup lasts for hours.
[/vc_column_text][vc_single_image image=”2900″ img_size=”full” alignment=”center”][vc_column_text]
A generous spray should be applied from a distance of around 30cm to create a fine layer of mist on the client’s face.
Setting sprays can be mattifying or dewy, so pick one depending on your client’s skin type.
Stay tuned for our next instalment of makeup techniques, where we’ll be focusing on eyes. In the meantime, you can practice these basic techniques on your family and friends until you’re a pro!
[/vc_column_text][vc_cta h2=”Always wanted to be a professional MUA?” txt_align=”center” add_button=”bottom” btn_title=”Makeup Artistry Courses” btn_style=”custom” btn_custom_text=”#000000″ btn_shape=”square” btn_size=”lg” btn_align=”center” btn_link=”url:https%3A%2F%2Fposhnailz.co.uk%2Ftraining%2F%3Flocation%3D%26course_type%3D28|||”]
We offer industry level Makeup Artistry courses across eight training centres!
[/vc_cta][/vc_column][/vc_row]


