


[vc_row][vc_column][vc_column_text]
Every year, new nail treatments pop up and take the beauty industry by storm. But no matter what trends are invented, a nail tech will always need to know the difference between Gel nails and Acrylics. Gel and Acrylic nails have been popular for decades, so they’re an essential part of a nail tech’s skillset.
But what’s the difference between their processes, application and removal? We’re going to answer all of these questions and more in this quick guide to Gel and Acrylic nails.
Gel Nails
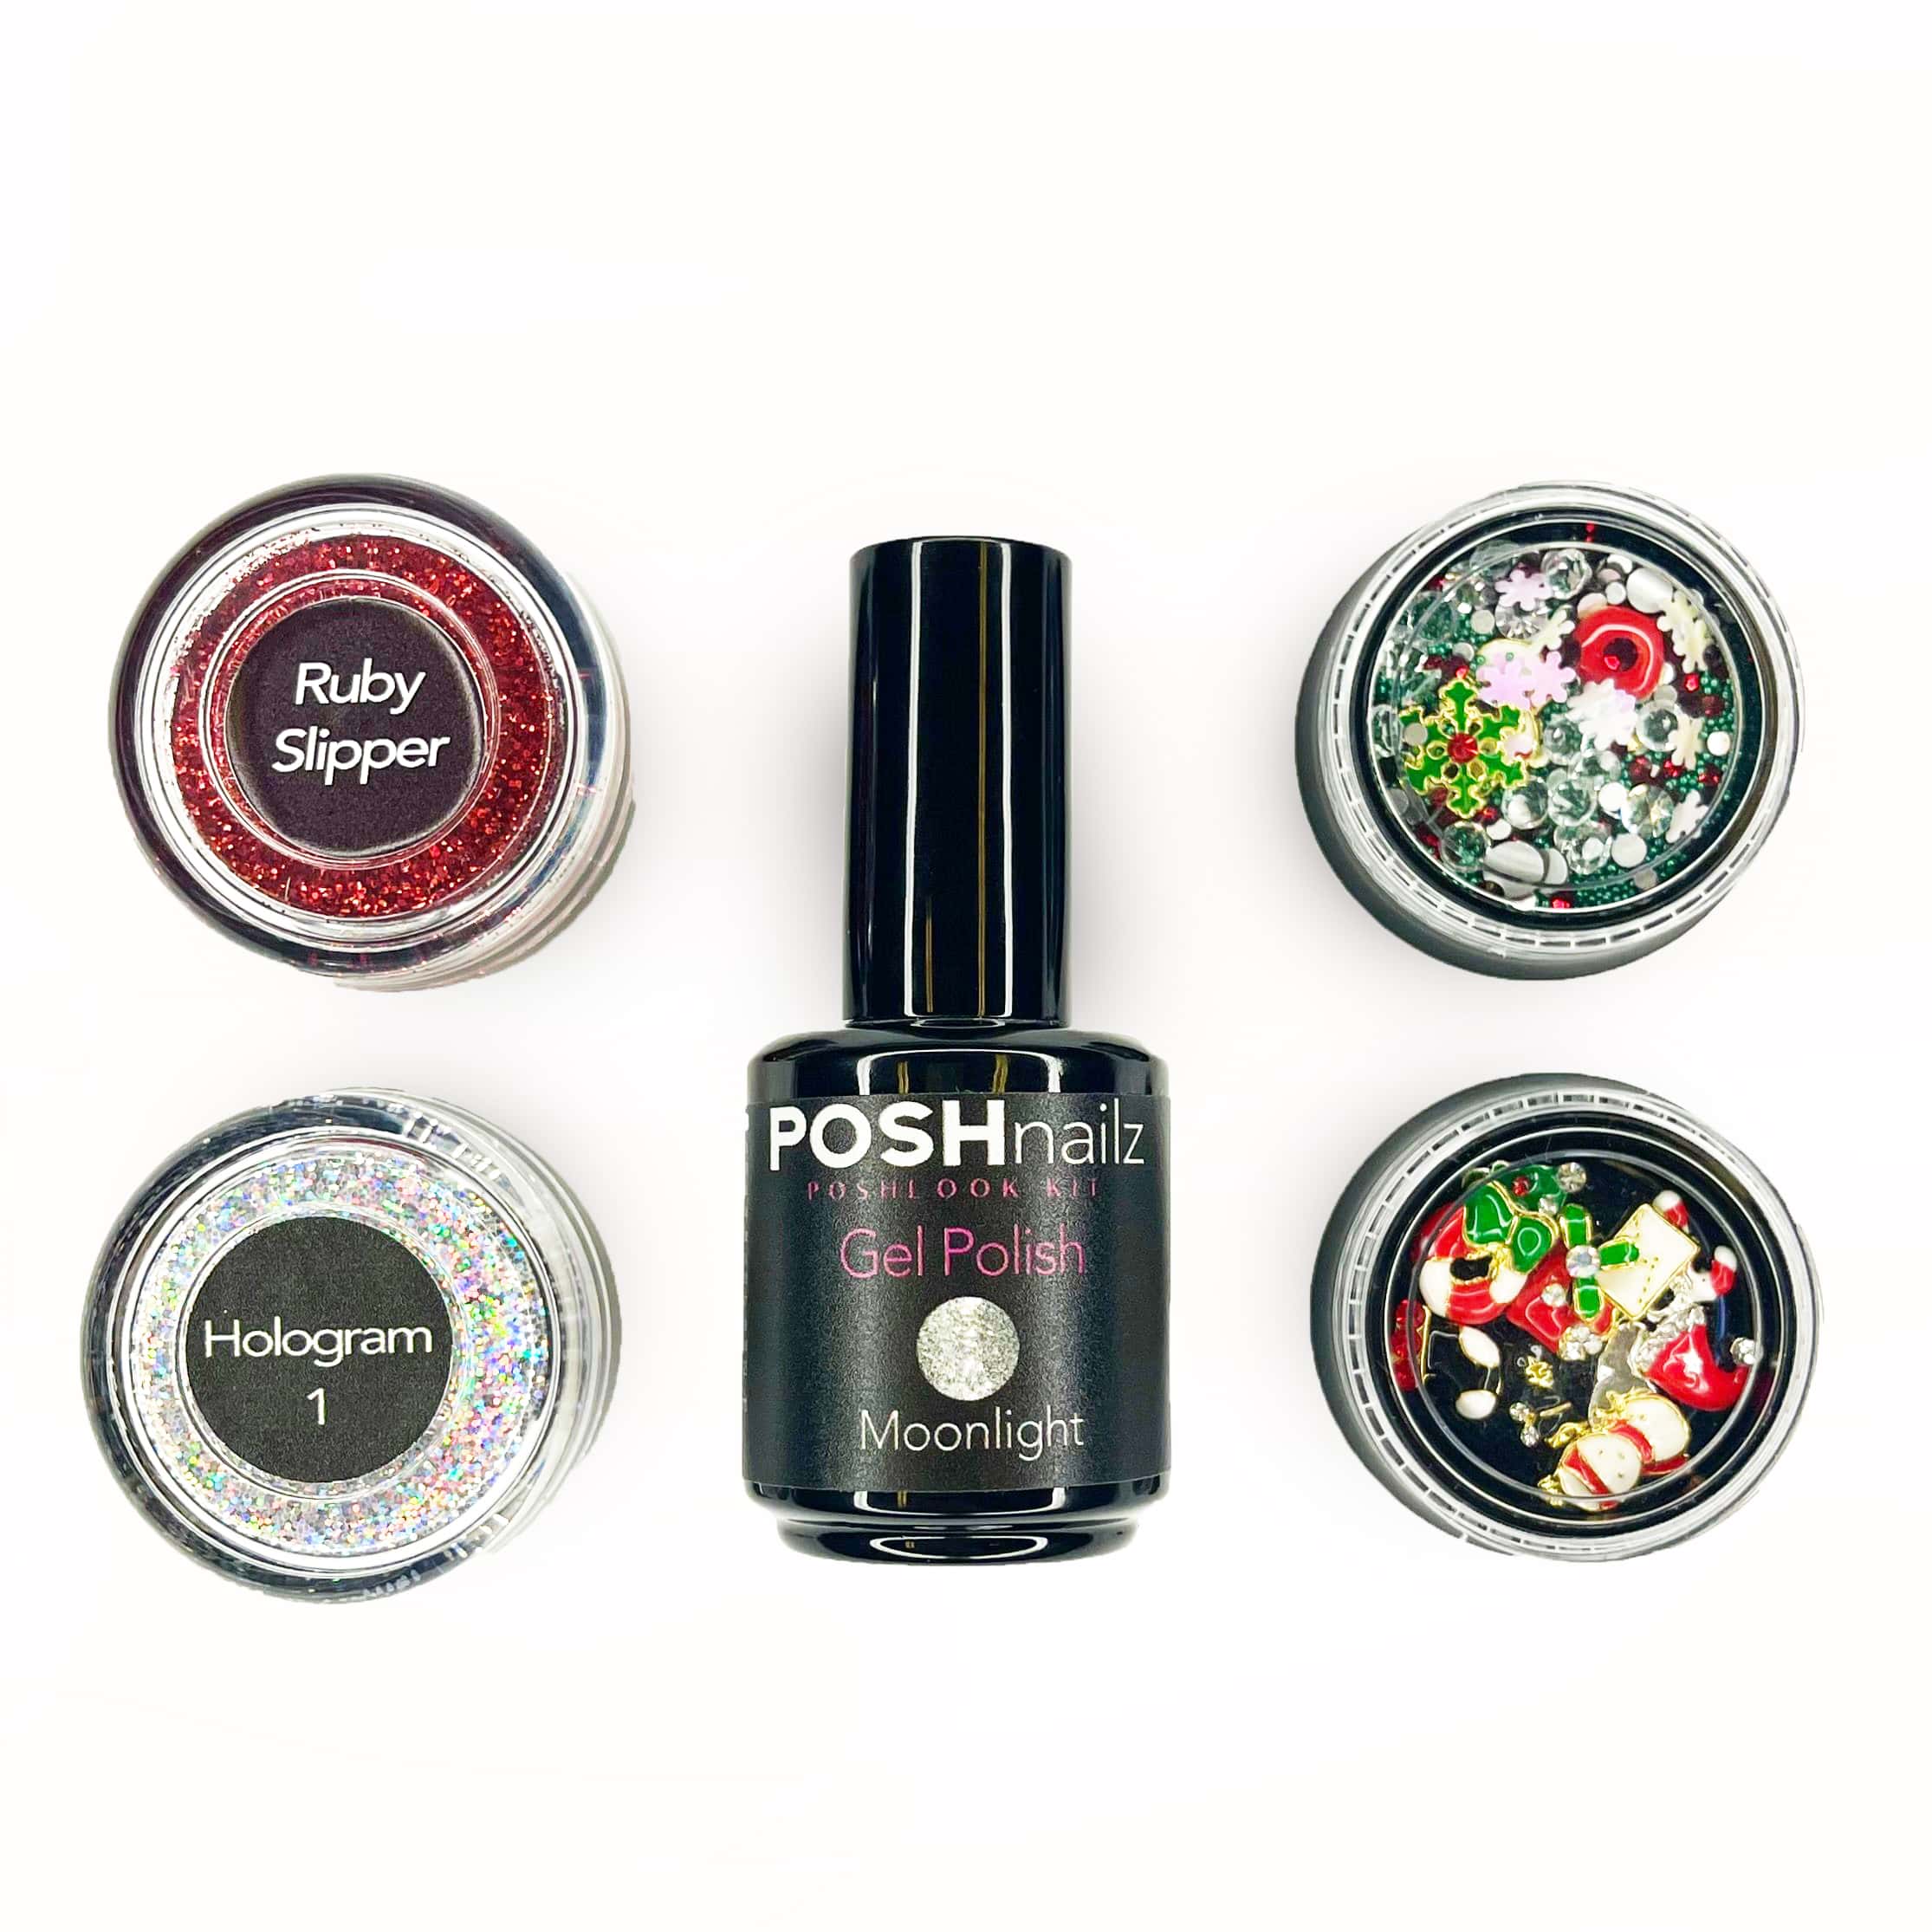
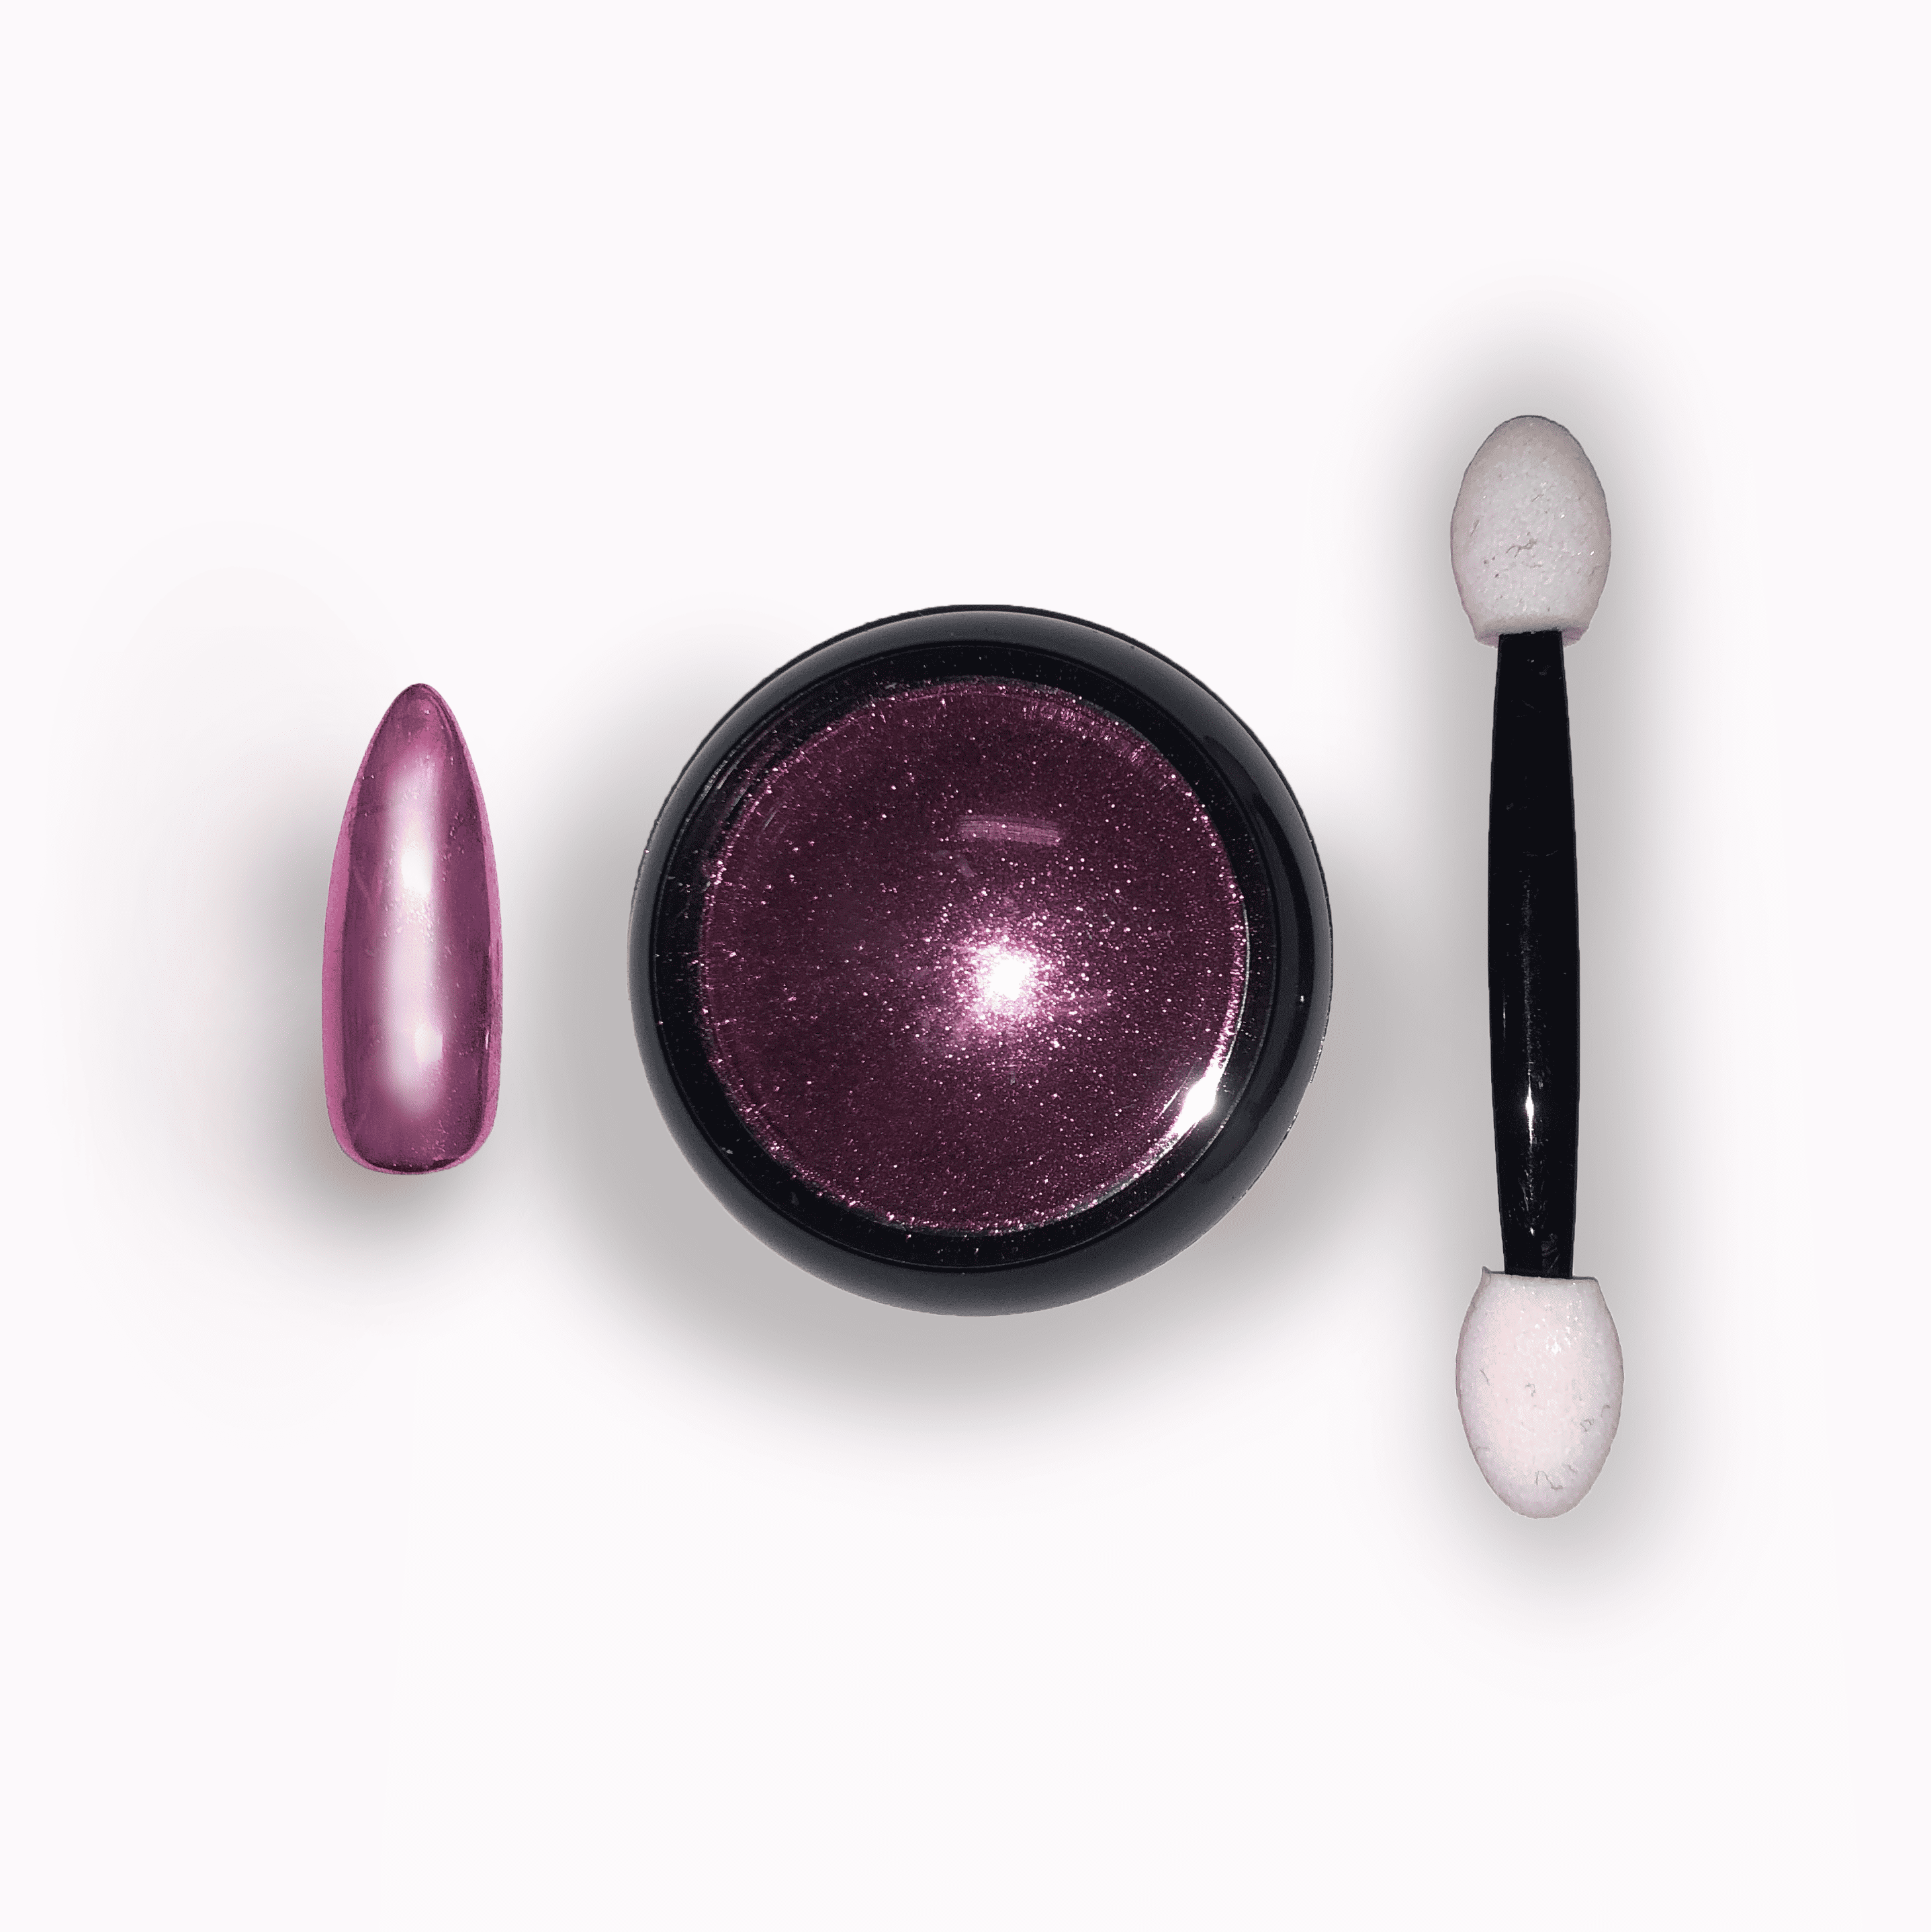
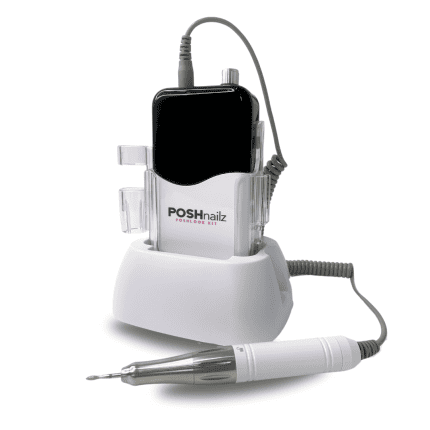
[/vc_column_text][vc_single_image image=”6757″ img_size=”full” alignment=”center”][vc_column_text]Gel nails come in two forms: soft and hard gel. You can create nail extensions with hard gel, whereas clients who want a more natural look will opt for soft gel.
The application of gel polish is known for being quite harsh on natural nails, due to its chemical makeup. Use a UV light throughout the application of both soft and hard gel nails to cure and harden them. UV rays can cause skin damage so you can use an LED lamp instead to protect the client’s hands.
A good application of gel nails should last 3-4 weeks if the client is careful not to chip or break them. Treatments usually cost upwards of £25 and more if the client requests embellishments or nail art.
Prep
[/vc_column_text][vc_column_text]Prepping the nails is an essential part of any nail treatment. You should complete the following steps to ensure the nails are ready for the application so you can achieve the best results.
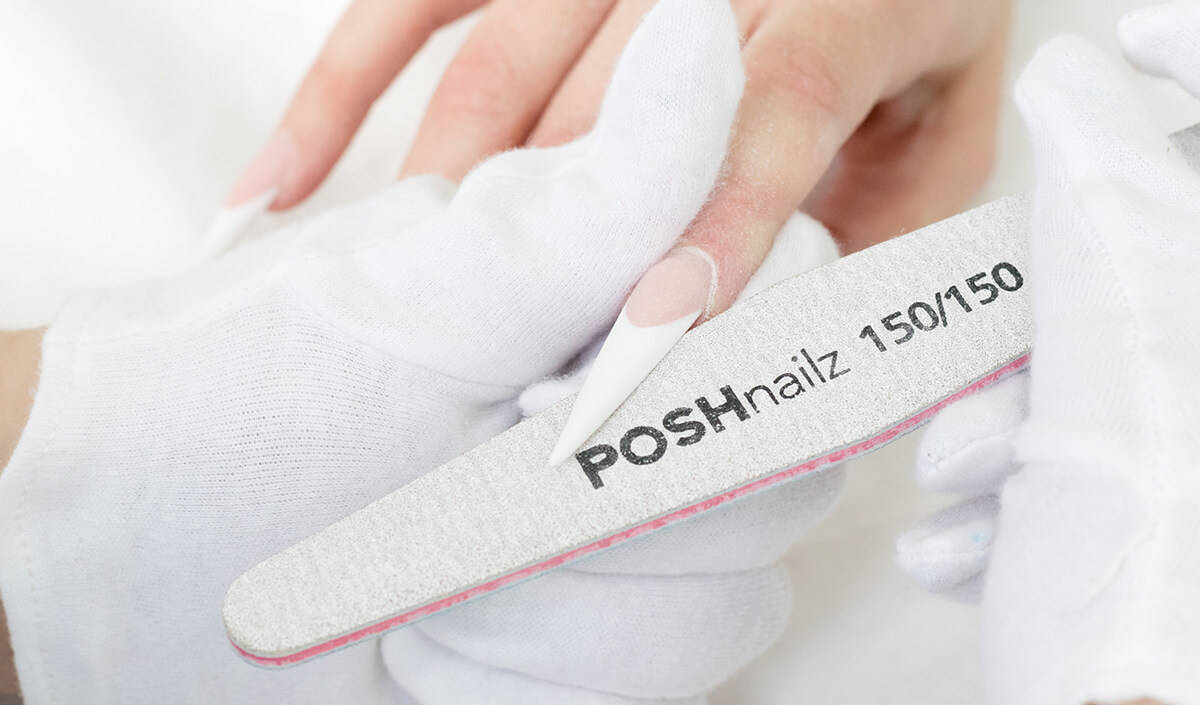
- File and buff – this removes any harsh edges and nicks to create a smooth surface for the product to sit on.
- Push and trim the cuticles – neatening the cuticles is a must. Use a cuticle pusher and nipper to reduce and remove the cuticles. Not only does this improve the appearance of the nails, but it also stimulates nail growth.
- Basecoat – applying a basecoat will protect the natural nails from staining and create a better base for the product to stick to.
[/vc_column_text]

Soft Gel
Soft gel is pretty simple to get to grips with. As long as your painting is neat and you take your time, you should get the hang of it quickly. Follow this straightforward run-through:
- Pick the desired colour – there are endless amounts of colours to choose from, i.e. glitter, metallic, neon, matte and nude.
- Cure under the UV light after each layer – this will harden the polish and leave a glossy shine.
- Finish with a topcoat and set the manicure with a final cure under the UV light.
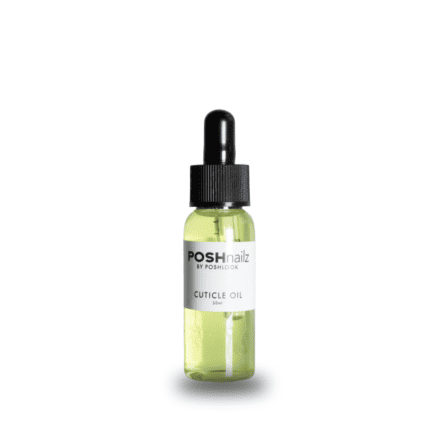
- Cuticle oil – restore moisture to the nails after all of the filing and cutting with a good quality cuticle oil. Massage the oil into the fingertips.
[/vc_column_text]
Hard Gel
Hard gel is ready to apply straight from the pot, making it an easier craft to master than acrylics. Here’s a simple step by step of how to apply hard gel extensions:
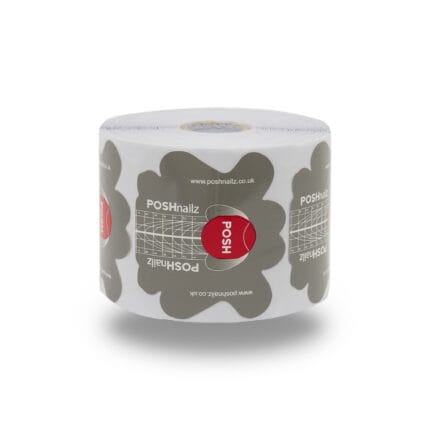
- Apply nail forms to the tip of each natural nail – these will act as a guide for the shape and length of the gel extension.
- Apply the first layer of hard gel – this is a ready-made formula so you can simply apply it with a brush. Work in thin layers to achieve precise results and avoid making the nail too thick.
- Cure under the UV lamp – every time you paint a new layer, you need to cure it under the light. As a result, the gel nail will become more durable and last longer.
- Apply 1-2 more layers of hard gel and cure each time under the UV lamp.
- Paint the hard gel with a gel polish of your client’s choice and finish with a topcoat.
- Cure the gel polish under the UV lamp and apply cuticle oil.
[/vc_column_text]
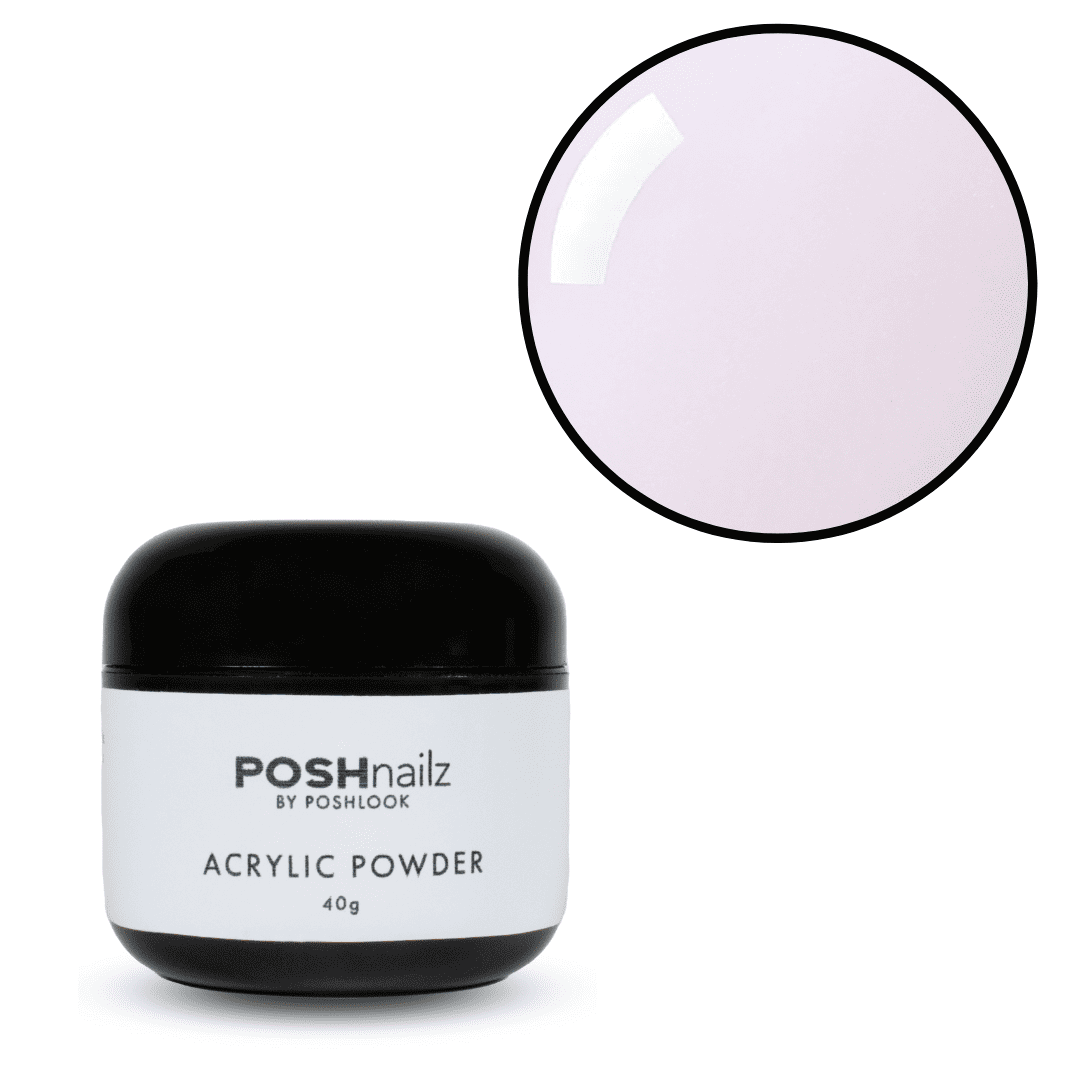
Acrylics
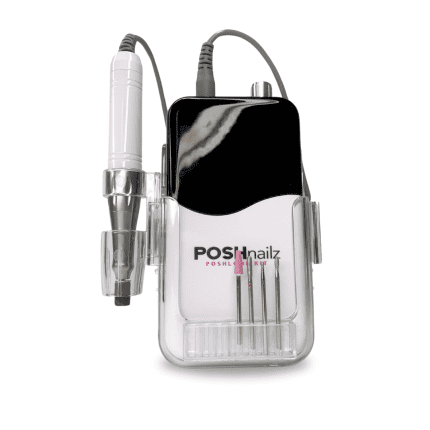
[/vc_column_text][vc_single_image image=”6760″ img_size=”full” alignment=”center”][vc_column_text]Acrylic powder and solvent form the basis of acrylic nails. Acrylic is perfect for creating super-long extensions, however, it’s also possible to achieve natural looks. It all depends on what your client prefers.
Acrylics can be applied using acrylic tips or nail forms. Acrylic tips make it easier to form the extension, while nail forms leave all the moulding down to you. Whichever method you choose is purely down to preference.
These nails are known for being durable and hard wearing. If applied professionally, they won’t lift or break off the natural nail. Depending on the rate of nail growth, acrylics should generally last for four weeks. Like gel nails, acrylic extensions cost upwards of £25, with additional costs for different designs and embellishments.
Prep
The prep required for acrylic nails is the same as that of gel. See above for the steps.
Acrylic tips
[/vc_column_text][vc_column_text]
- Glue nail tips to the natural nail with an adhesive – these are clear plastic tips that form the extension.
- Cut the nail tips down to the desired length with nail scissors.
- File to the requested shape, e.g. coffin, stiletto, square – each nail should be identical and have neat edges.
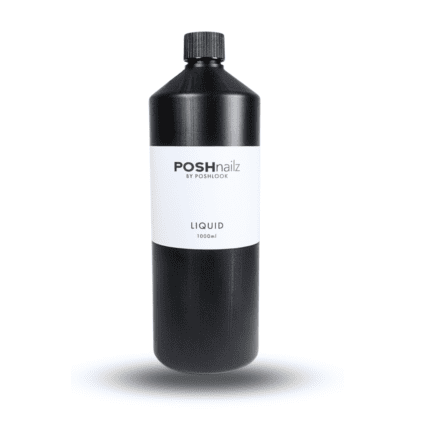
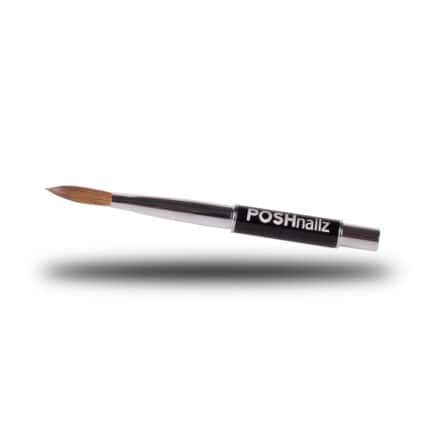
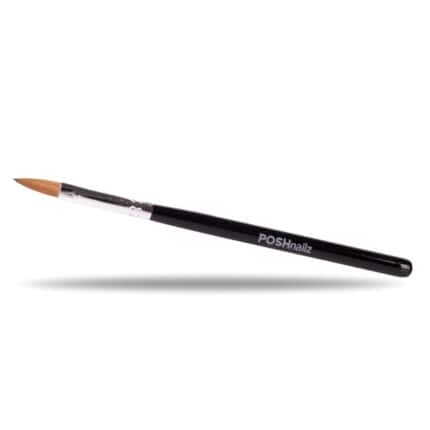
- Dip your acrylic brush in the solvent, then into the acrylic powder and apply the mixture onto nails.
- Mould the acrylic until it’s smooth – work in small sections from the base of the nail to the tip until you achieve the desired nail shape and coverage.
- Once hardened, file the acrylic to neaten the shape and smooth out any lumps.
- Remove any file dust with spray clean to prep the nails for gel polish.
- Paint the acrylics with gel polish and set under the UV light.
- Finish with a top coat and cuticle oil.
[/vc_column_text]
Moulded Acrylics
The processes for moulded acrylics are similar to that of hard gel, except you have to create the acrylic mixture yourself.
- Apply nail forms to the tip of each nail to act as guidelines for moulding the acrylic.
- Dip your acrylic brush in the solvent, then the powder to create the acrylic mixture.
- Mould the acrylic mixture to the desired length and shape.
- Once set, file the nails to enhance smoothness and precision.
- Remove file dust with spray clean to prep the nails for polish.
- Paint the acrylics with gel polish and set each layer under the UV light.
- Finish with a top coat and cuticle oil.
[/vc_column_text]
Removal
[/vc_column_text][vc_column_text]The removal of gel nails and acrylics will be tough on natural nails if not carried out by a professional. The curing process creates a durable polymer that weak solvents can’t penetrate. Cut off the bulk of the nail extension and file them down as much as possible. You must be careful not to catch the client’s skin as you file.
Wrap the nails in acetone-soaked cotton balls and foil. Leave the nails to soak for 30 minutes, then pull the foil off. The extensions should break down and crumble off the nails with ease. This causes less damage to the natural nail as there is no harsh pulling or filing involved.[/vc_column_text]
Design
When it comes to soft gel nails, the scope for nail art and embellishments is a little limited. You’ll only have a small surface area to work with, so you must have a steady hand and be able to create more intricate designs.
On the other hand, hard gel and acrylic nails give you much more room to play around with nail shapes, accessories and nail art. You can hand paint designs, apply glitters and chrome powders and use accessories like rhinestones. [/vc_column_text]
[vc_column_text]

Getting to grips with the processes of gel and acrylic nails is an essential part of becoming a nail tech. Browse our online shop to find all the equipment and accessories you need to carry out these treatments.
[/vc_column_text][/vc_column][/vc_row]