


[vc_row][vc_column][vc_column_text]
Mascara? Never heard of it – semi-permanent lashes are the boss now. If you want mesmerising Bambi eyes, then look no further than lash extensions.
But how do you apply these fiddly little lashes you ask? We have all the info you need when it comes to lash extensions – from different styles you can offer as a beautician, to the application techniques.
Benefits
[/vc_column_text][vc_single_image image=”3517″ img_size=”full” alignment=”center”][vc_column_text]The main benefit of semi-permanent lashes is that they create a naturally beautified look (depending on the style you opt for). So they’re perfect for clients with busy schedules who want to look made up without spending hours in the morning.
Lash extensions are also popular with fans of the falsies. With eyelash extensions you can ditch the strip lashes, relieving you of the stress of sticking your eyelashes on for a night out after your third G&T. Simply pop on your eyeshadow and hey presto, you’re ready for the night!
Semi-permanent lashes also last a lot longer than you might think. Their lifecycle is very similar to your clients’ natural lashes, so we’re talking about six to eight weeks, after which the lashes will have mostly fallen out.
Myth debunking: contrary to popular belief, semi-permanent lashes don’t shorten and destroy the natural lashes. BUT experts do recommend taking breaks from extensions to relieve your natural lashes of the weight.
Lash extensions don’t come cheap! Costs start at £40 and can reach anywhere up to and over £100, making them a lucrative treatment. However, they take time, skill and patience to master so don’t jump into it purely for the £££.[/vc_column_text][vc_column_text]
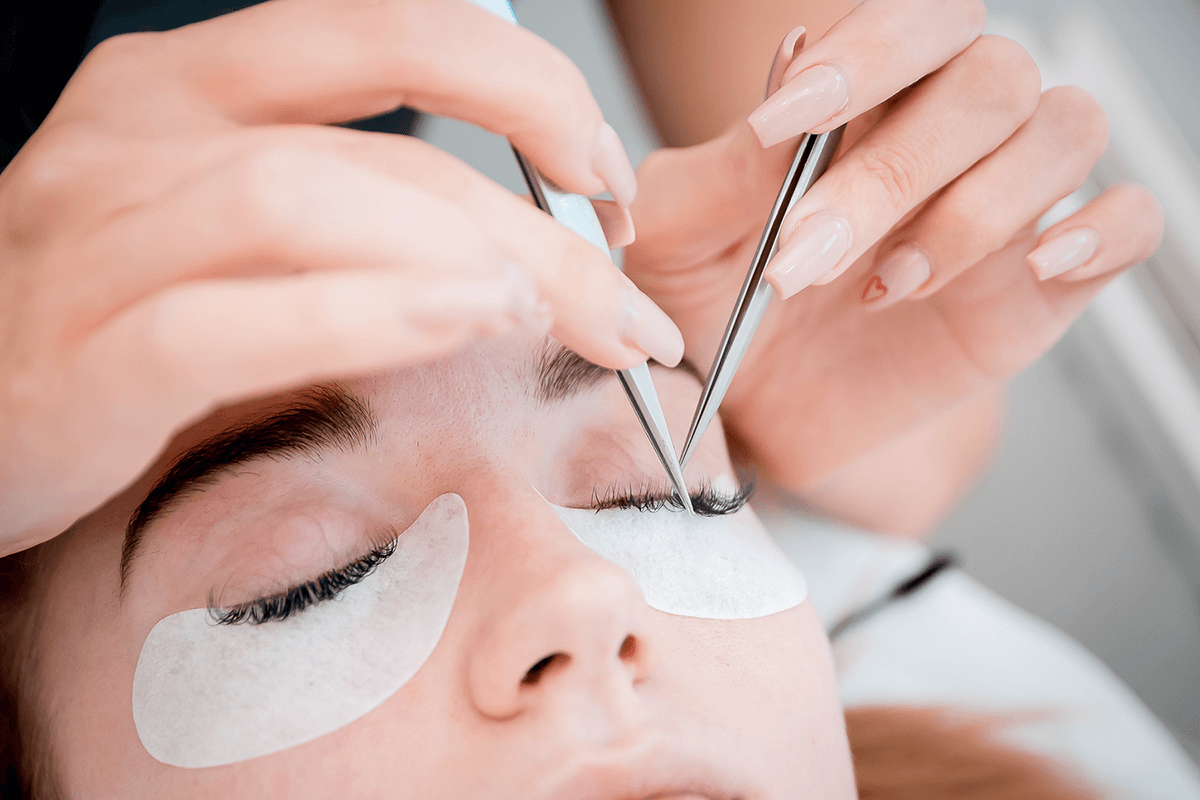
Prep
[/vc_column_text][vc_single_image image=”3519″ img_size=”full” alignment=”center”][vc_column_text]You don’t want your client showing up to their lash appointment with a full MUA glam, so tell all customers to arrive completely makeup-free. You need a blank canvas to give the lashes and glue the best possible base to stick to.
Likewise, you should inspect the eyes for any visible infections such as styes or conjunctivitis, as you don’t want to inflame these or contaminate your equipment. The client will have to wait until the infection clears before having their treatment.
It’s also advisable to shower before the appointment, as water and moisture will weaken the bonds and cause the lashes to fall out prematurely.
Ideally, contact lenses should be removed as the eyes will be closed for at least 60 minutes.
48 hours before the appointment, bring your client in for a patch test to uncover any glue allergies as they would be far more harmful to discover around the eyes! [/vc_column_text][vc_column_text]
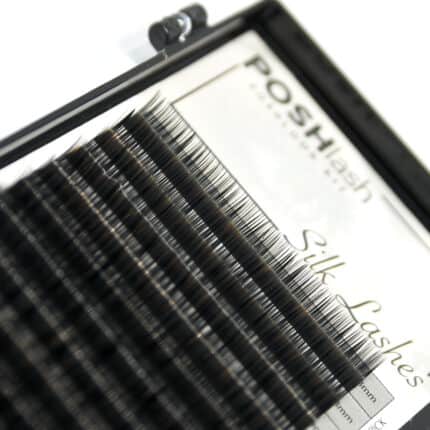
Lash Styles
[/vc_column_text][vc_column_text]While there are different styles, you must tailor each one to the client’s eye shape. For hooded eyes, the focus should be on lifting the lid. Apply the bulk of the lashes in the centre of the eye, using natural extensions, so the eyes don’t look overcrowded.
For wide-set eyes, apply plenty of lashes towards the inner corner to bring the eyes closer together, and vice versa for close-set eyes.
There are different types of semi-permanent lashes, including synthetic, silk and mink. Synthetic is the cheapest type you can offer while mink and silk are more lightweight with a fluffier texture, setting clients back at least £60.
TOP TIP: If your client is vegan but likes the look of mink lashes, you can offer faux mink lashes which achieve the same effect.
[/vc_column_text][vc_single_image image=”3520″ img_size=”full” alignment=”center”][vc_column_text]Individual eyelashes come in different lengths, from 6mm to 17mm. Use varying lengths across the eyes to create different styles and make the set look more natural. As well as length, eyelash extensions also come in varying thicknesses from 0.03mm all the way up to 3mm. The thicker the lash, the more dramatic the look will be.
The type of curl you use is also an essential factor in determining how dramatic or natural the lashes will look. Lash extension curls are graded by letter. For example, J and B curls create a more natural effect while C and D curls lift and open the eye dramatically.
There are many different styles a beautician can offer, including classic, doll, hybrid and Russian. Russian is the most dramatic and uses plenty of cluster lashes to create a thick, dark set. On the other hand, classic lashes work with the natural lash shape, enhancing the eye for a natural look.
Doll lashes focus on opening and lifting the eye for a glamourous effect and are a popular choice with many celebrities. Hybrid extensions are a happy medium between classic and Russian lashes, creating a perfect glam look that isn’t too striking.
You could also offer coloured extensions, however black is the most popular option. [/vc_column_text][vc_column_text]
Application
[/vc_column_text][vc_single_image image=”3521″ img_size=”full” alignment=”center”][vc_column_text]So, you’ve had a client consultation and patch test, and now you’re ready to begin applying! Settle down for a 1-2 hour session and turn up the concentration levels.
First off, start by sticking gel eye pads under the client’s eyes. These will protect the skin from any fallout and glue while giving you an area to tap off any excess.
Gel pads can also be used for lash mapping, a method beautician’s use to plan out where each lash length should be placed. Mapping is achieved by drawing out sections on the gel pads with diagonal lines and numbering each one with the length you want to place in that area.
Lash mapping is a handy trick because you don’t have to think about the lash design once it’s drawn and can get to work sticking them on instead!
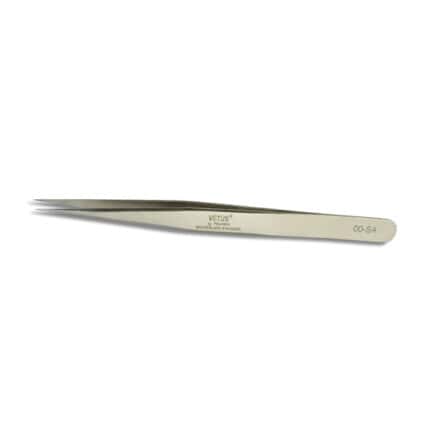
Using curved tweezers, lift a lash extension from the tapered end and dip the root into the strong adhesive.
Separate the natural lashes with wide pointed tweezers to create a gap in which the individual lash can sit.
Place the extension onto the base of a single natural lash and make sure it’s placed at the right angle, moving it around if necessary.
You can expect to repeat this application process over 100 times on each eye, which is what makes semi-permanent lashes a lengthy procedure!
No two natural or synthetic lashes should be stuck together as this will cause clumping and be uncomfortable for the client.
There are different lash extensions for different styles, ranging from classic to 4D. Russian lashes use 2D+ extensions, which is when multiple extensions are attached to one bond and natural lash. On the other hand, classic lashes comprise of one individual extension per natural lash.
Once you’ve applied all of the lashes, brush through the fresh set with a disposable mascara wand to remove any knots or tangles. [/vc_column_text]

Aftercare: How Long Do Semi Permanent Lashes Last?
[/vc_column_text][vc_single_image image=”3522″ img_size=”full” alignment=”center”][vc_column_text]Semi-permanent lashes should last between six to eight weeks. However, you can offer infills from as little as two weeks, charging more for them as the weeks go on.
The most important thing to do is avoid water for 12-24 hours, as this will break down the glue and cause the lashes to fall out quickly.
Avoid waterproof mascara and eyeliner as they will be hard to remove and may result in ripping out your lashes. Similarly, avoid using oil-based products on the eyes as they will break down the adhesive.
When applying makeup take extra care to avoid pressing on the lashes or getting fallout on them. It’s a good idea to brush the lashes through once the makeup’s been applied to remove any excess product.
Sleep on your back, rather than your stomach or sides, to prevent crushing and misshaping the extensions. [/vc_column_text][vc_column_text]
Lash Removal
[/vc_column_text][vc_column_text]Now your client’s had their lashes on for a month they can either opt for infills or a removal. This is where you can step in and offer your services again.
Semi-permanent lash removal is pretty simple and only requires a gel remover. Apply the remover from root to tip and wait 10 minutes, then wipe away the lashes with a cotton pad. If any lashes remain, repeat the process and wait 5 minutes for the lashes to fall away.
Remove any residue with a cleanser/makeup remover to make sure the eyes are completely clean.
Infills follow the same process as starting from scratch. Simply fill in the gaps to make the lashes look full and fresh again. Infills are a quicker and cheaper process as they’re simply a touch up of the original set.[/vc_column_text]
Now that you know all of the tricks to give your clients lashes for days, it’s time to get started. Always remember, the eyes are a sensitive area to work on, and you should take the correct and thorough precautions with every client! Happy lashing!
[/vc_column_text][vc_cta h2=”Dreaming of becoming a professional beauty therapist?” txt_align=”center” style=”custom” add_button=”bottom” btn_title=”Beauty Therapy Courses” btn_style=”custom” btn_custom_text=”#666666″ btn_size=”lg” btn_align=”center” btn_link=”url:https%3A%2F%2Fposhnailz.co.uk%2Fproduct%2Fonline-semi-permenant-lash-course-classics%2F|||”]
Head to the training page to browse our upcoming courses!
[/vc_cta][/vc_column][/vc_row]